
Last updated September 20, 2026
Free on-site gate assessment - hinges, posts, and your LiftMaster or Nice gate operator checked before anything is quoted
The assessment is free and the quote is the invoice.


 Before
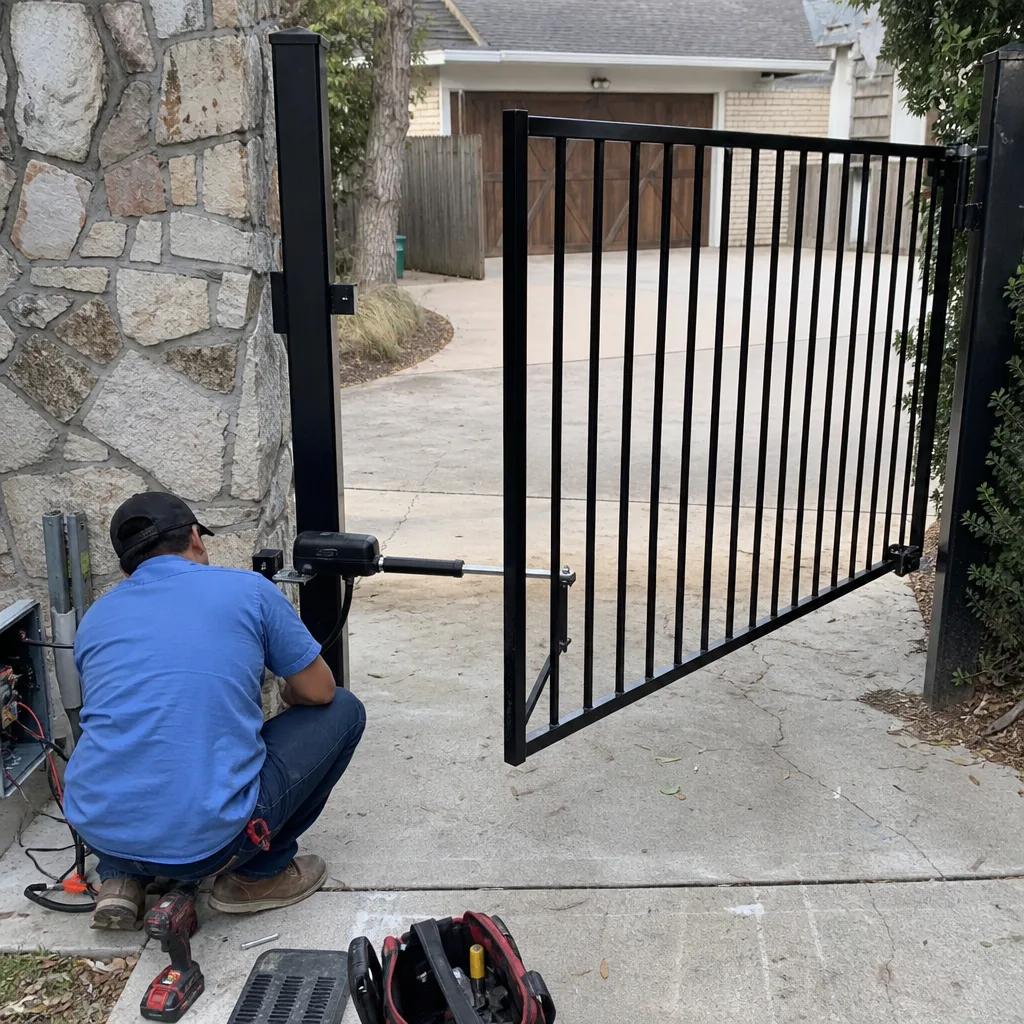 After
After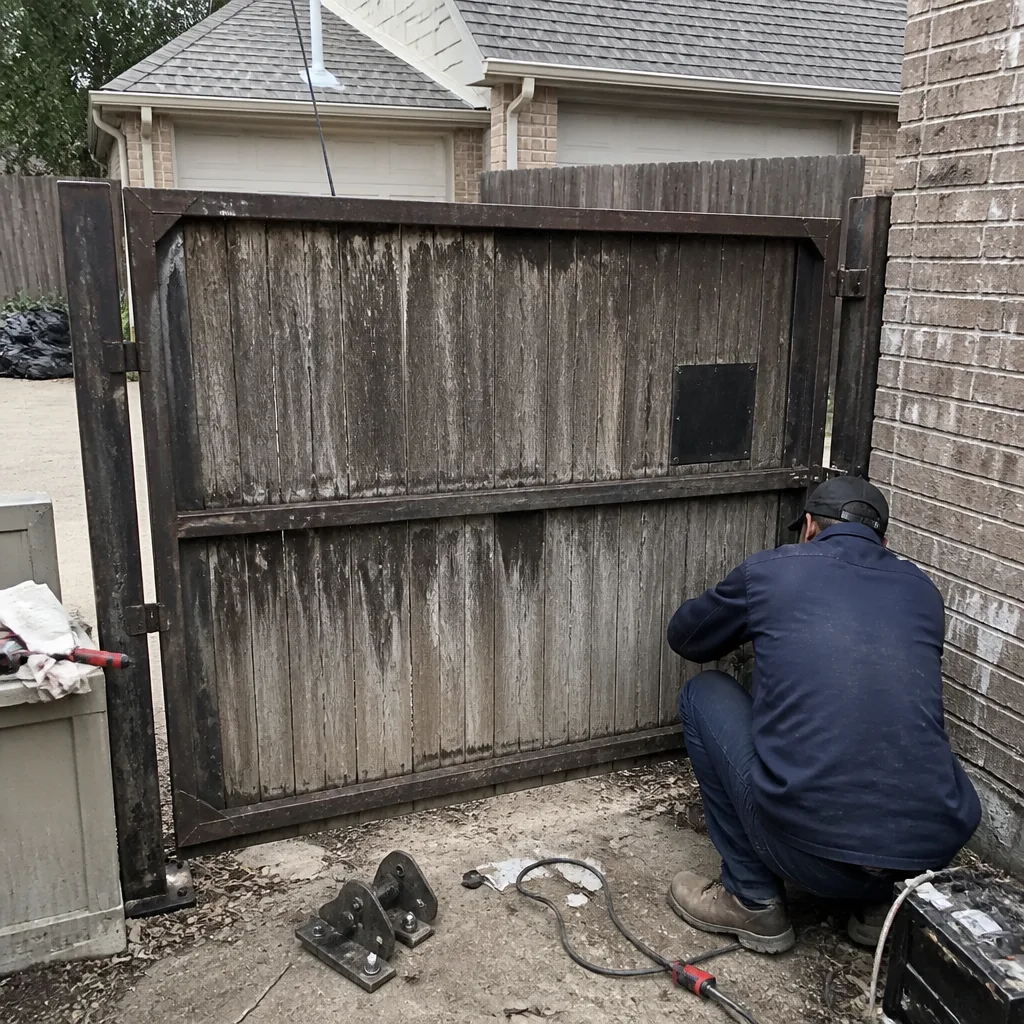 Before
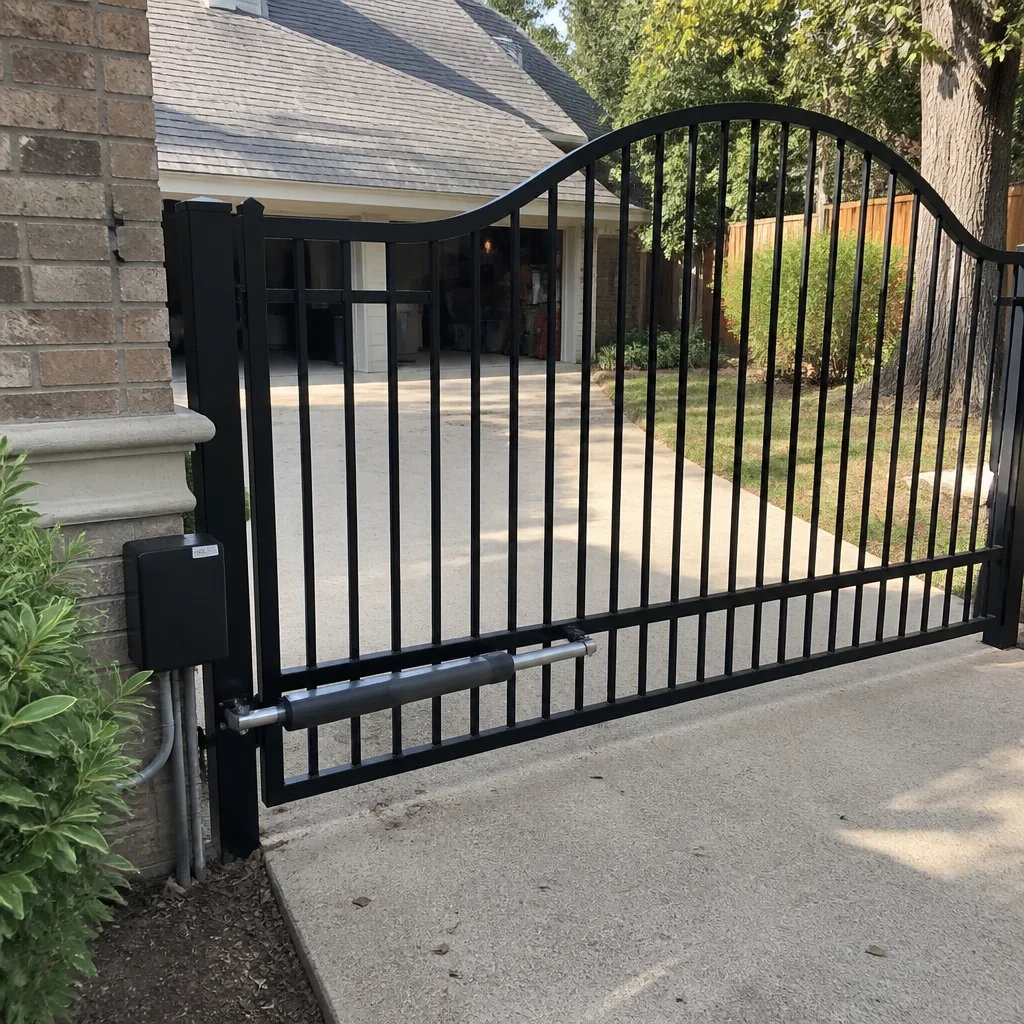 After
After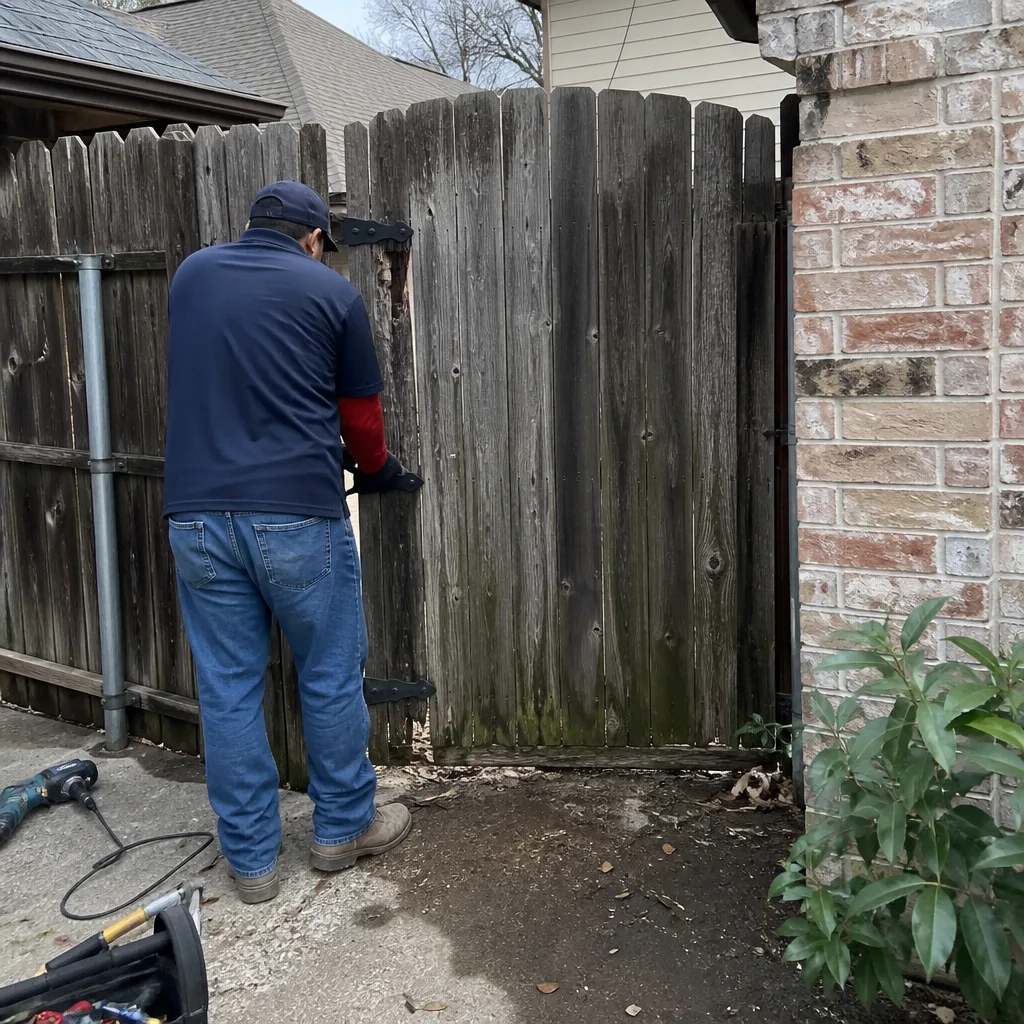 Before
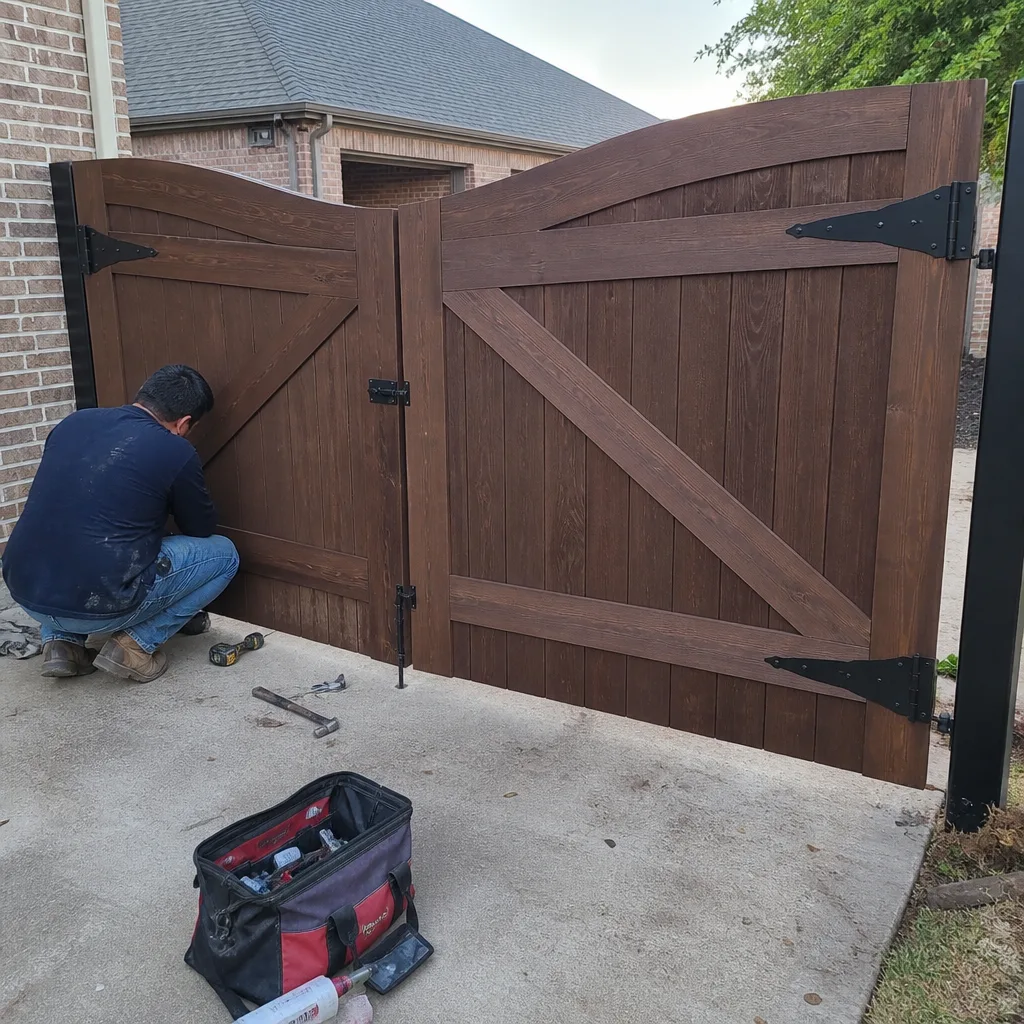 After
AfterGate Repair Maintenance Checklist for Carrollton Homeowners
A lubricated hinge looks fine, and a failing hinge also looks fine. The difference shows up in the torque reading your operator is drawing, a number that takes 30 seconds to check and that most Carrollton homeowners have never seen. This guide is built around measurements and observations you can log yourself, creating a baseline record that makes every future service call faster, cheaper, and better informed. We’ll cover what to check, what to record, what to photograph, and which numbers actually matter when a gate starts misbehaving.
Quick Answer
A complete gate maintenance checklist for Carrollton homeowners covers monthly visual checks on the gate’s path and hinges, quarterly testing of the operator’s force settings and safety sensors, and twice-yearly documentation of amp draw, cycle time, and soil gap at the post base. The most important habit is writing down what you observe: a gate with a recorded baseline is a gate that costs less to repair because the next technician doesn’t start from zero. For more guides & resources on building your maintenance routine, see our blog.
Table of Contents
- The Monthly Visual Inspection: What to Look At and Why
- Amp-Draw Readings: The Number That Tells You More Than Your Eyes Can
- Safety Sensor Testing: Photo-Eyes, Edges, and the Force Test
- Carrollton-Specific Items: Soil Gap, Conduit Entry, and UV Exposure
- The Photographic Record: What to Shoot and How to File It
- Building a Maintenance Log That Adds Resale Value
- What You Can Safely Do Yourself vs. What Needs a Licensed Electrician
- Common Mistakes to Avoid
- When to Call a Professional
- Frequently Asked Questions
- The Bottom Line
BeforeAfterThe Monthly Visual Inspection: What to Look At and Why
Most gate failures announce themselves weeks before they actually happen. A wheel that’s starting to shimmy, a hinge that’s dropped an eighth of an inch, a chain that’s showing rust at the master link. The monthly inspection is not about fixing anything. It’s about noticing the change early enough that a $40 adjustment doesn’t become a $900 motor replacement. Here’s what to examine, in order, every thirty days.
The Ten-Point Visual Check
- Gate path clearance: Walk the full swing or slide path. Look for gravel that’s migrated, grass that’s encroaching, or soil that’s built up against the closed position. In Carrollton’s clay-heavy soil, ground swell after spring rains can raise the path enough to add friction the operator wasn’t designed to fight.
- Hinge and bracket condition: Look for rust at weld points and any gap between the hinge pin and the plate. A hinge that sags by a quarter inch at the latch end translates to roughly forty pounds of extra lateral load on the operator.
- Wheel and track wear: For slide gates, run your hand along the top of the track (when the gate is fully open and the power is off). Feel for flat spots or notches. A notched wheel creates a rhythmic load spike that shortens operator life considerably.
- Chain or belt tension: On chain-drive slide gates, press down on the chain midpoint. You should get about a half inch of deflection. More than that and the chain can jump the sprocket; less and you’re loading the motor bearings unnecessarily.
- Limit switch function: Watch the gate open and close fully. Does it stop in the same place every time? A gate that stops an inch short one cycle and an inch long the next is telling you the limit switch is drifting, which is a thirty-minute fix now and a burnt-out motor later if ignored.
- Safety edge response: If your gate has a reversing edge (the rubber strip along the leading edge that bounces the gate back when it hits something), press it firmly mid-cycle. The gate should stop and reverse immediately. A dead safety edge is a code violation and a genuine hazard.
- Control board indicators: Look at the operator’s control board. Most modern boards from LiftMaster, FAAC, and BFT have LED status lights. A steady green usually means healthy; a blinking red or an LED that’s off typically indicates a fault. Write down what you see before you touch anything.
- Post base and mounting bolts: Grab the gate post and try to move it. Any movement at all means the post footing is compromised or the bolts are loosening. In Carrollton’s expanding clay soil, post movement is one of the most common causes of gate misalignment we encounter on repair calls.
- Keypad and remote function: Test every entry device, not just your primary remote. The keypad you never use is the one that fails the night you need it.
- Battery backup status: If you have a battery backup system, check its indicator. Most batteries last three to five years in the Texas heat. A battery that won’t hold a charge turns your automatic gate into a very heavy manual gate at exactly the wrong time.
This entire inspection takes about fifteen minutes once you know what you’re looking for. The value isn’t in the doing; it’s in the writing down. Which brings us to the number that matters most.
Amp-Draw Readings: The Number That Tells You More Than Your Eyes Can
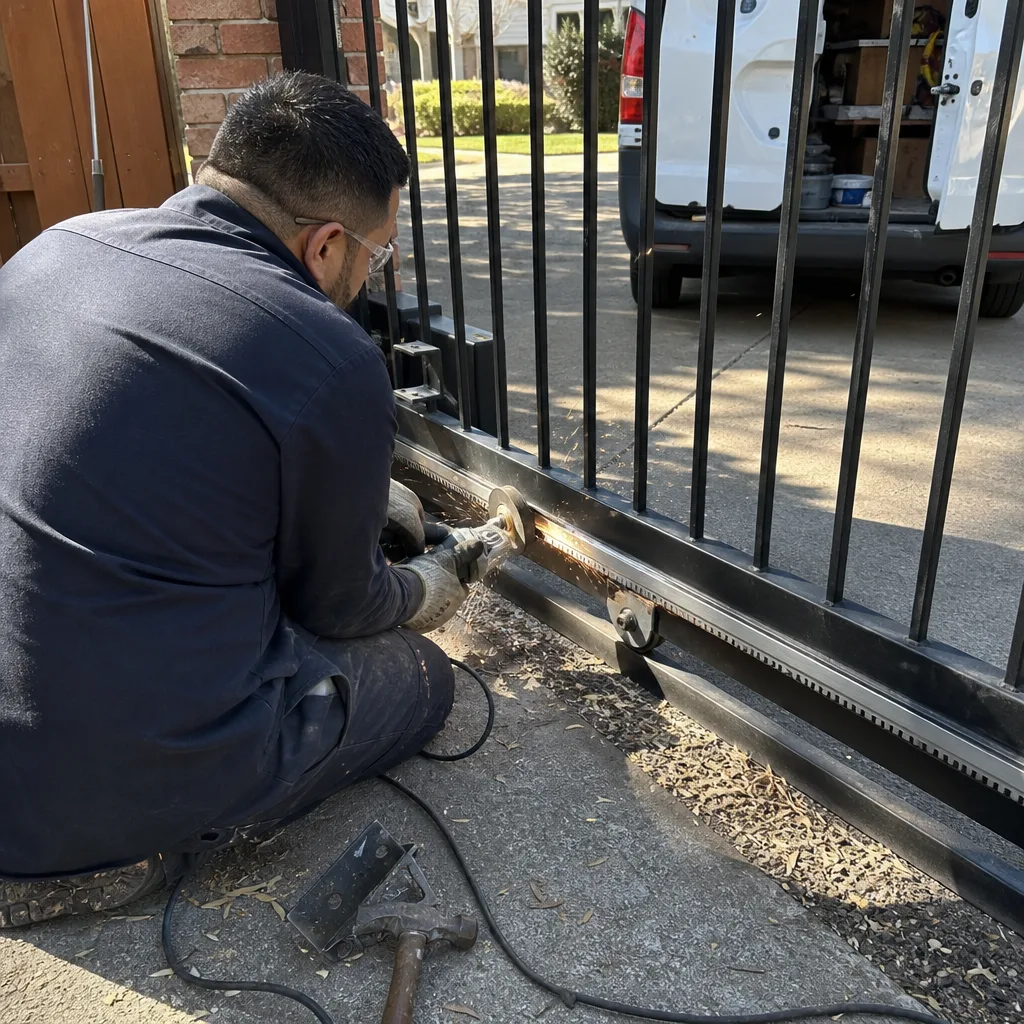
Every powered gate operator works by converting electrical current into mechanical force. When the gate moves easily, the motor draws relatively little current. When something is binding, rusting, sagging, or dragging, the motor pulls more amps to overcome the resistance. That amp-draw number is the single most useful diagnostic a homeowner can record. It’s free, it requires no tools beyond what’s already on your operator, and it catches problems months before they become visible.
What the Numbers Mean
For residential gate operators, typical healthy amp draws look like this:
- LiftMaster residential slide operators: 2.5 to 4 amps during normal travel. Above 5 amps indicates drag, misalignment, or a failing capacitor.
- Viking residential swing operators: 1.5 to 3 amps for a leaf that’s moving freely. Above 4 amps signals hinge bind or post shift.
- Elite residential slide operators: 2 to 3.5 amps during steady travel. A spike above 5 at startup and a drop to 6 under load suggests wheel or track problems.
- FAAC swing operators: 1.5 to 2.5 amps for a properly balanced leaf. Consistent readings above 3.5 mean the leaf is fighting the operator.
These ranges are for a gate that’s already in motion. Startup draw will always be higher, a brief spike as the motor overcomes inertia. What you’re looking for is the sustained number during steady travel.
How to Read the Operator’s Built-In Diagnostics
- Locate the control board. On LiftMaster units, it’s behind the front cover of the operator housing. On Viking and Elite, it’s typically under a hinged panel.
- Look for a small LCD display or a row of LED indicators. Many modern operators display an error code or a diagnostic readout that includes current draw.
- Some models require you to press a “diagnostic” or “info” button to cycle through readings. Consult your operator’s manual for the exact sequence, but the amp reading is usually labeled “current,” “amps,” or shown as a number followed by “A.”
- Record the reading in your maintenance log, along with the date and the ambient temperature. Hot days produce slightly higher readings; what you’re tracking is the trend over time.
- If your operator doesn’t display amp draw directly, you can estimate by watching the motor’s behavior: a gate that shudders, slows mid-travel, or trips its overload is drawing too much current regardless of the number.
One reading is a snapshot. Three readings, taken a month apart, are a trend line. When your amp draw creeps up 20 percent over six months with no other changes, you know something is degrading, and you know it before the gate fails. That early warning is worth more than any repair price.
Safety Sensor Testing: Photo-Eyes, Edges, and the Force Test
Safety sensors are not maintenance items you check when convenient. They’re the difference between a gate that stops for a child and a gate that doesn’t. UL 325 compliance exists because gates have killed people; every test on this list is about ensuring your gate will never add to that statistic. If the thought of checking these sensors feels like overkill, replace that thought with the image of a toddler running after a ball near a closing gate. Every test matters.
The three primary safety systems on a residential gate are the photo-eye (the infrared beam across the gate path), the contact edge (the pressure-sensitive strip that reverses on impact), and the inherent force detection (the operator’s internal resistance monitoring). Here’s how to test each.
Photo-Eye Testing
A photo-eye, sometimes called a photo-cell or safety beam, projects an invisible infrared beam from one side of the gate path to a reflector or receiver on the other side. When something breaks the beam while the gate is closing, the gate must stop and reverse. To test it:
- Start the gate closing.
- Stand clear of the gate’s path and sweep your foot through the beam zone, roughly six inches off the ground.
- The gate should stop immediately and reverse direction to the full open position.
- Test at three heights: ankle, knee, and waist. A photo-eye that’s been bumped out of alignment catches only some of these.
A photo-eye that’s misaligned by just two inches won’t see a small child crawling through the gate path. This is the most common safety failure we find on Gate Repair in Carrollton calls, and it’s often the result of a lawn crew’s string trimmer nudging the sensor housing.
Contact Edge Testing
The reversing edge is a rubber strip mounted on the gate’s leading edge or bottom rail, wired to a pressure sensor inside. When the gate contacts anything solid, the edge compresses, the sensor triggers, and the gate reverses. To test:
- Start the gate closing.
- Press firmly against the edge with a gloved hand or a rolled-up towel at three points: near the hinge, at the midpoint, and at the latch end.
- The gate should stop and reverse the moment pressure registers.
A dead contact edge is not something to ignore. It’s a hard warranty void on most operators and a genuine life-safety risk. If your edge doesn’t respond, the gate is not compliant, and you should stop using the automatic cycle until it’s repaired. For details on local requirements, read Gate Repair Permits, Codes & Inspections in TX: What You Need to Know.
Force Detection Testing
Force detection is the operator’s internal system that monitors how hard the motor is working and shuts down if it encounters unexpected resistance. It’s calibrated at installation and drifts over time. To test:
- Place a traffic cone or weighted trash can in the gate’s path, roughly at the midpoint.
- Start the gate closing.
- The gate should stop and reverse before it knocks the object over. If it pushes through or knocks it away, the force setting is too high and needs recalibration.
Recalibrating force settings is usually a simple procedure documented in your operator’s manual, but if you’re not confident doing it yourself, it’s a ten-minute service call. A gate that overpowers its safety systems is the most dangerous kind of automatic gate, and it’s the one problem no homeowner should defer.
Carrollton-Specific Items: Soil Gap, Conduit Entry, and UV Exposure
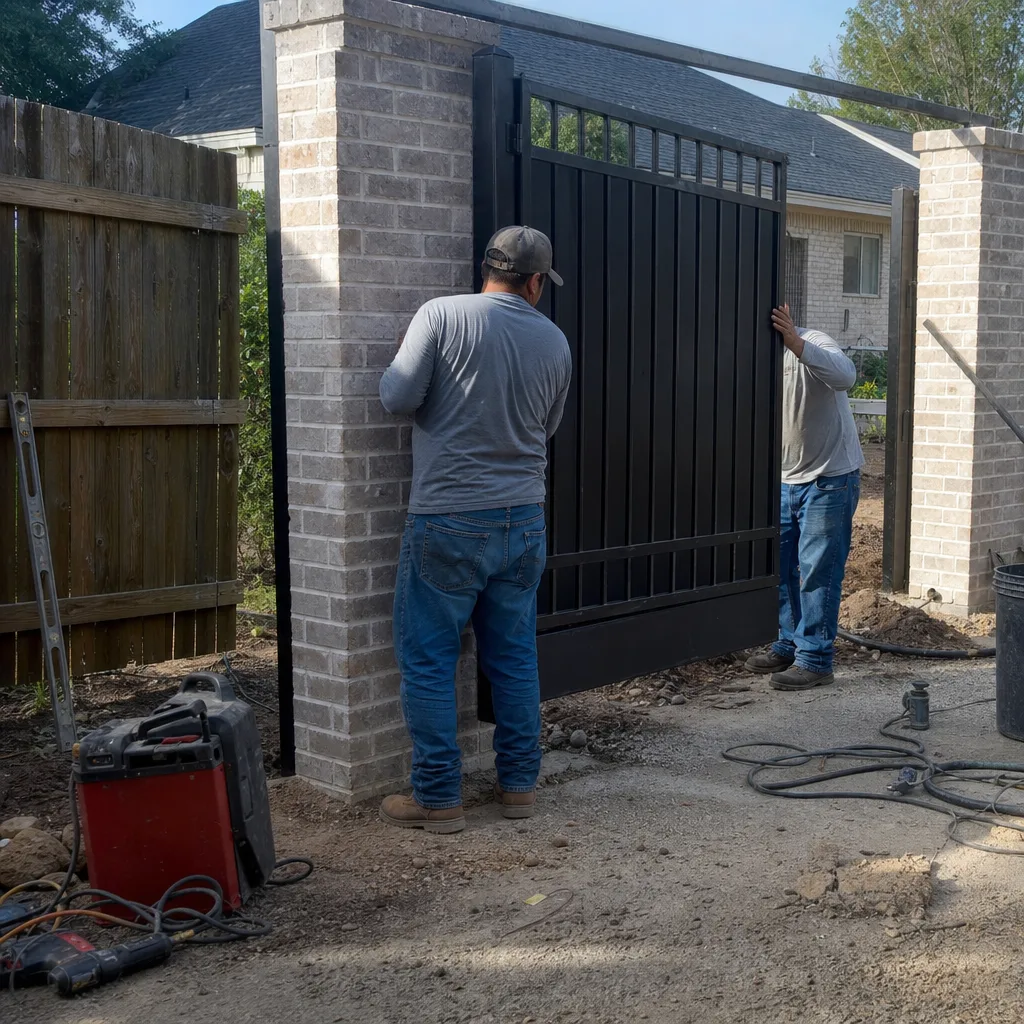
Carrollton sits on the Blackland Prairie, a band of dark, expansive clay that contracts during our dry summers and swells after our spring and fall rains. That movement is the hidden variable behind more gate failures than any single mechanical cause. A gate that swings true in November can bind in April because the posts moved a half inch out of alignment. Here are the Carrollton-specific checks that belong on your maintenance list alongside the universal ones.
Soil Gap at the Post Base
Measure the gap between the bottom of the gate post and the surrounding soil, at the concrete collar if you have one. Record this number in your log. In a dry spell, you may see a gap open up around the post as the clay shrinks away. In a wet spell, that gap closes and the soil heaves upward against the post footing. A change of more than a quarter inch, either closing or opening, means the post is under stress it wasn’t designed for.
What to do about it: don’t pour anything into the gap. Adding concrete or foam around a moving post creates a jacking effect that worsens the misalignment. The correct fix is usually to water the soil evenly around the footing during dry spells (to prevent shrinkage) or to improve drainage during wet spells (to prevent swelling). If the post has already moved, call a technician before the operator starts eating the misalignment cost.
Conduit Entry Points
Your operator’s wires come up out of the ground through a conduit, usually a gray PVC pipe entering the bottom of the operator housing or the gate post. Inspect where the conduit meets the housing. In Carrollton’s wet months, water follows that conduit up from the ground and into the operator’s electrical box. Look for:
- Gaps between the conduit and the housing where you can see bare wire.
- Discoloration on the housing below the entry point, indicating water has been running down the exterior.
- Condensation visible inside the control board enclosure after a rain.
Sealing this entry point is a five-minute job with a tube of exterior-grade silicone caulk, and it prevents the slow corrosion that eventually kills control boards. If you see signs of water intrusion, dry the area, seal the gap, and add a drip loop to the wiring inside so water running down the wire falls off before reaching the terminals.
UV Degradation on Exposed Wiring
Texas sun is brutal on insulation. Any wire not protected by conduit, particularly low-voltage wiring for keypads, photo-eyes, and vehicle detectors, degrades over several years of UV exposure. The insulation gets brittle, cracks, and eventually exposes the conductor. On a 24-volt system, that exposure isn’t an electrocution hazard, but it creates intermittent shorts and resistance that confuse the control board.
Inspect all visible wiring runs. If you see chalky or cracked insulation, mark it for replacement. Heat-shrink tubing or UV-rated wire loom is the right repair; electrical tape is a temporary fix and will fail within one Texas summer. If you’re installing a new Gate Installation in Carrollton, insist on UV-rated wire from day one.
The Photographic Record: What to Shoot and How to File It
A maintenance checklist that doesn’t tell you what to photograph is incomplete. The point of documentation is not the doing; it’s the record. A year from now, when something changes, you’ll want a baseline to compare against. A phone photo with a timestamp is a legitimate diagnostic tool. Here’s how to build a photo record that’s actually useful when the gate misbehaves.
The Seven-Photo Standard
At every maintenance session, take these seven photos:
- The full gate, closed, from straight-on. This documents overall alignment and any gate sag from season to season.
- The full gate, open, from the same angle. This shows the open position and any drift in the limit stop.
- The hinge assembly, close-up. You want to see the hinge pin, the weld points, and the bracket plate. Changes in the gap between hinge leaves show up in photos that are impossible to eyeball from memory.
- The operator unit, cover open. Document the control board, the wiring connections, and the capacitor. If a wire corrodes or a connector loosens, you’ll have a “before” shot to compare.
- The photo-eye assembly, both sides. Alignment changes are visible in photos when the mounting brackets have shifted.
- The post base and soil gap. Put a reference object in the frame, like a quarter or a pen, so the gap is measurable from the photo later.
- The chain or belt tension point. Photograph the deflection at the midpoint, with your hand or a ruler showing the amount of sag.
How to Name and Store Files
A folder called “gate photos” with fifty unnamed images is nearly useless. Here’s the naming convention we recommend, and it’s the same one our technicians use on every job:
YYYY-MM-DD_gate-location_what-is-shown.jpg
For example: 2025-03-14_front-drive-hinge_close-up.jpg. Name the file on the day you take it. Don’t rely on your phone’s auto-generated filename; in eighteen months you will not remember that IMG_4821 is the hinge, not the keypad.
Store everything in one album with the year in the album name. You’re building a year-over-year record, and having separate albums per year lets you flip between the same photo from March 2024 and March 2025 to see exactly what changed. That’s the same documentation habit we bring to every Gate Motor & Opener in Carrollton service call, and it’s why our clients never pay to re-diagnose a problem we’ve already seen.
Building a Maintenance Log That Adds Resale Value

A gate maintenance log is a home improvement document with real, quantifiable value at resale. The same way a complete HVAC service record tells a buyer the house was cared for, a gate log tells a buyer that the automatic gate won’t be their first repair bill. Here’s what to track and how to make it credible.
The Minimum Viable Log
A useful log doesn’t need to be fancy. A single page per maintenance session with these fields is enough:
- Date and time. Include the temperature; gate behavior changes with heat, and Texas summers stress operators in ways that October doesn’t.
- Cycle time: How long the gate takes to open fully, measured with a phone stopwatch. A gate that slowly gets slower is telling you something.
- Amp draw reading: From the operator’s diagnostic display, if available.
- Safety test results: Pass or fail for photo-eye, contact edge, and force detection. Note any failures with specifics.
- Physical observations: Anything from the monthly visual check that deviated from the last session: soil gap, hinge condition, wheel wear, chain tension.
- Any action taken: What you adjusted, replaced, or flagged for a professional.
This log becomes your repair history. When a technician arrives, you hand them the document instead of trying to describe “that noise it made last spring.” A written record of change over time is what separates a cheap repair call from an expensive diagnostic mystery.
What Buyers Actually Want to See
When you sell your home in Carrollton, the gate is part of the property. A buyer who sees a folder with maintenance logs, photos, and a record of parts replaced has reason to believe the gate was maintained. A buyer who sees a rusty gate with no history assumes it’s a liability. The log you build today is a negotiation tool at closing. It’s not about impressing anyone; it’s about showing evidence for the claim that the house was cared for. Evidence is the only thing that survives an inspection.
What You Can Safely Do Yourself vs. What Needs a Licensed Electrician
Most gate maintenance is within a careful homeowner’s abilities. Some is not, and the line between the two is not always obvious. Here’s the distinction as we apply it on our own service calls in Carrollton.
Safe for a Careful Homeowner
- Visual inspections and photo documentation: Everything in the monthly check is touch-free and safe.
- Lubrication of hinges, wheels, and chain: Use a white lithium grease on metal-to-metal contact points. Avoid spraying lubricant on belts, control boards, or photo-eye lenses.
- Testing safety systems: The photo-eye, contact edge, and force tests described above are safe to perform.
- Clearing the gate path: Removing debris, trimming grass that contacts the gate, and clearing the track on slide gates.
- Checking and recording amp draw: Reading the diagnostic display requires no tools and no electrical exposure.
- Caulking conduit entry points: A silicone bead around the conduit entry is a hand-tool job.
Requires a Licensed Electrician or a Qualified Gate Technician
Anything that involves opening the operator’s electrical enclosure, handling line-voltage (120V or 240V) wiring, or working near an energized motor falls on the professional side. Specifically:
- Replacing or rewiring the operator motor: Motors are line-voltage devices wired through capacitors that store charge even after power is disconnected.
- Installing or replacing a control board: Control boards are sensitive to static discharge and require proper grounding during installation.
- Running new conduit or power to a gate location: This is electrical work regulated by the City of Carrollton, and it requires a permit and a licensed electrician.
- Diagnosing and repairing a gate that trips its breaker: A breaker trip is not a gate problem; it’s an electrical problem. The gate operator may be the symptom, but the cause could be a wiring fault, a short, or an undersized circuit.
- Any repair involving a torsion spring or a high-tension chain: Gate springs under tension can release with lethal force. This is not a DIY boundary; it’s a live-safety boundary.
If your gate has a high-tension spring, counterweight, or a chain under mechanical load, do not attempt to adjust it. The force stored in these components is not visible and not forgiving. A professional has the training and the right tools. Don’t gamble a hand against a spring.
Common Mistakes to Avoid
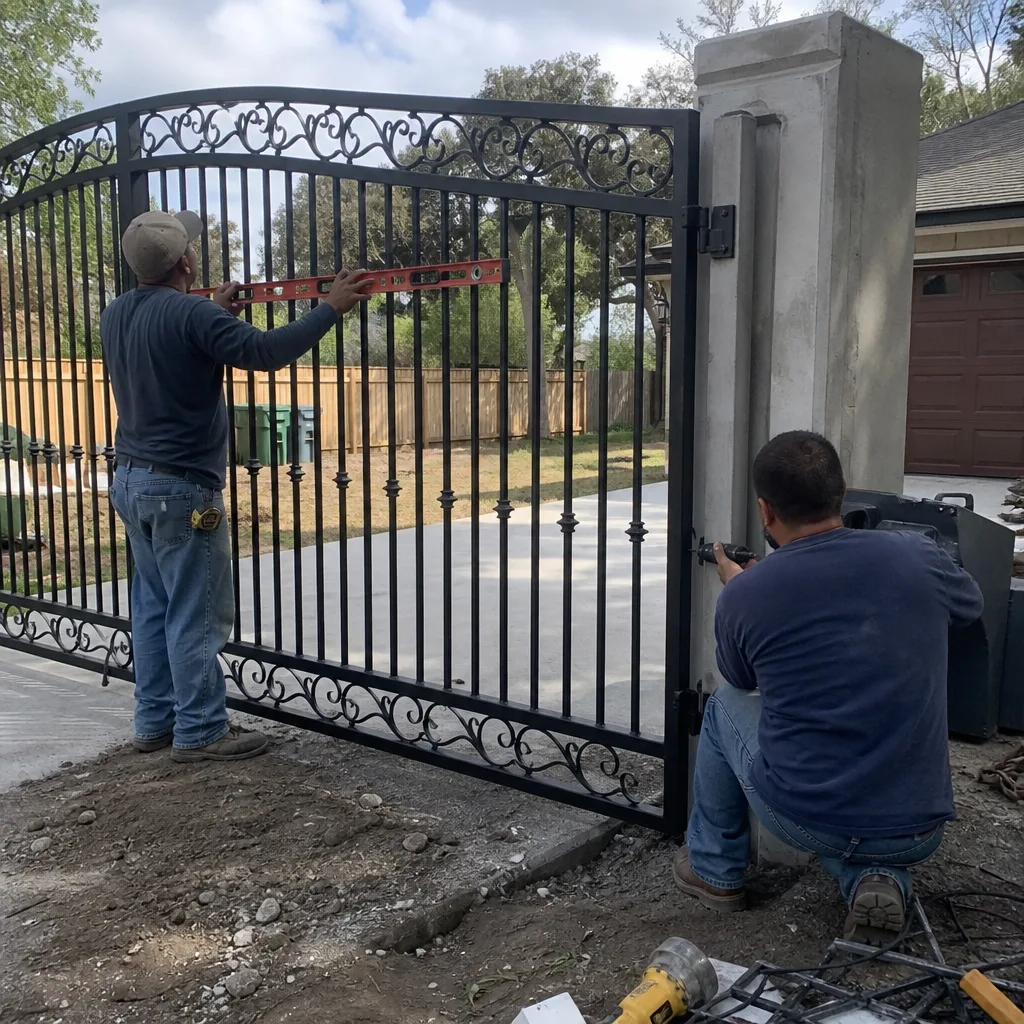
- Lubricating everything that moves without cleaning first. Grease over dirt creates grinding paste. Clean the surface, then lubricate. Dirt in the hinge pin is worse than no grease at all.
- Ignoring a slow-opening gate as “how it’s always been.” A gate that was fast and is now slow is telling you something changed. Gates don’t get slower for no reason; the reason is mechanical drag, and drag kills motors.
- Using the wrong lubricant. WD-40 is a penetrant, not a lasting lubricant. It displaces the good grease and leaves the surface dry. Use white lithium grease for hinges and wheels, and check your operator manual for what the manufacturer recommends on chains.
- Testing safety sensors only when the gate starts acting up. Safety systems degrade silently. A photo-eye whose beam is slowly drifting out of alignment will not make a noise. Test monthly.
- Replacing the battery instead of diagnosing the drain. If your gate’s backup battery dies quickly, replacing the battery just gives the problem a fresh victim. A parasitic drain on the board will kill the new battery too. Find the cause before you spend the money.
- Assuming a professional inspection is unnecessary because “it works.” Working and healthy are not the same thing. A gate that works but draws 7 amps is one stress cycle away from a cooked motor. The reading is the truth; “it works” is not a diagnosis.
- Failing to write anything down. A maintenance log with no entries is a to-do list. If you didn’t record it, it didn’t happen, and the next technician who needs that history will have to guess.
When to Call a Professional
Some conditions are not maintenance items. They’re service calls, and the sooner you make the call, the smaller the invoice. If your gate emits any grinding, screeching, or clunking noise it didn’t make a month ago, stop running it and get a technician out. If the gate trips its breaker or kills its backup battery repeatedly, the problem is electrical, not mechanical. If a hinge or post shows visible movement, the fix is structural. If any safety test fails, the gate is out of compliance and should not be used automatically until repaired. Vance Gate Repair Carrollton offers free estimates in Carrollton. Call (817) 778-4585 and a live person will answer, any hour, any day.
Frequently Asked Questions
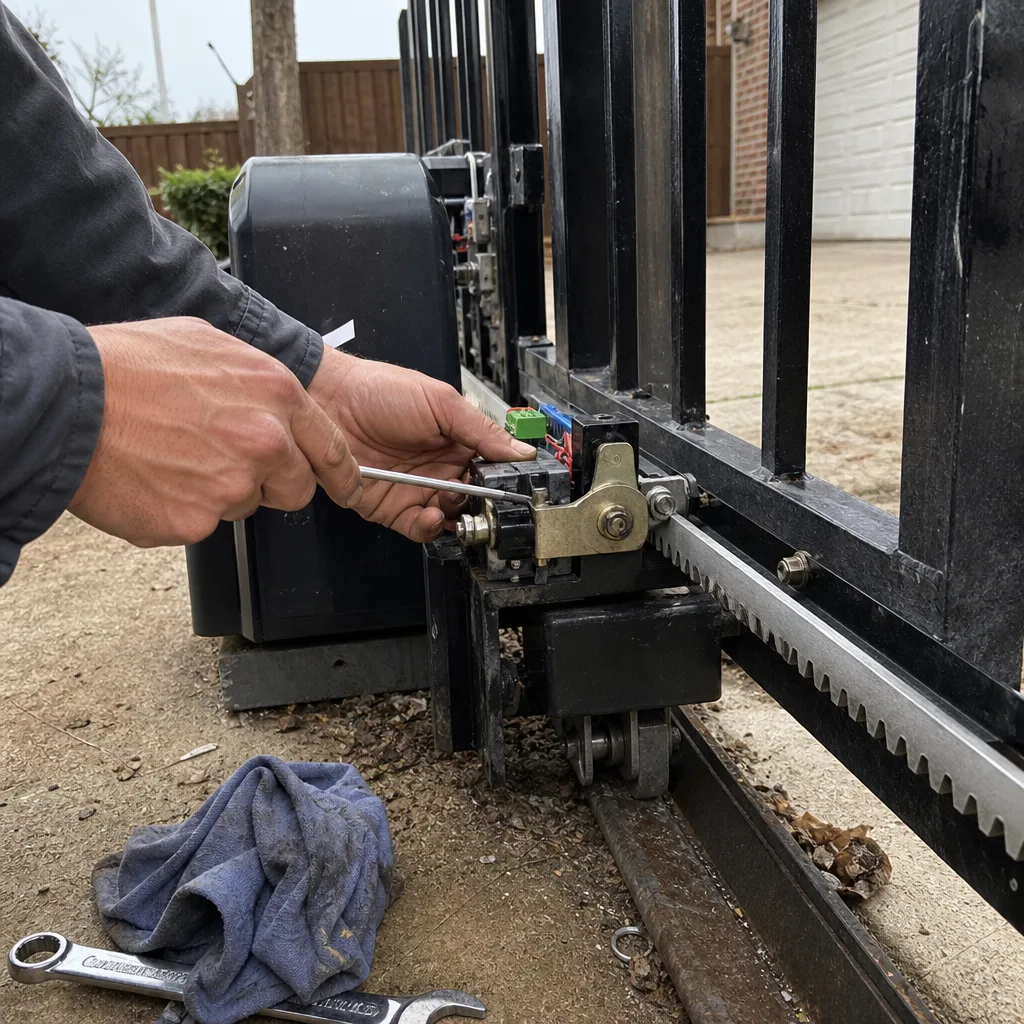
Monthly for visual inspections and safety tests, and twice yearly for recording amp draw, cycle time, and soil gap measurements. Carrollton’s clay soil expands and contracts with seasonal moisture changes, so the soil gap check is most important in April and October, when the ground transitions between wet and dry cycles.
A healthy residential gate operator typically draws between 1.5 and 4 amps during steady travel, depending on the brand and the gate’s size. LiftMaster residential slide operators usually draw 2.5 to 4 amps, Viking swing operators 1.5 to 3 amps, and FAAC swing operators 1.5 to 2.5 amps under normal conditions. Sustained readings above these ranges indicate drag, misalignment, or a failing component.
Force setting adjustment is documented in most operator manuals and is accessible without specialized tools, but it’s easy to set the force too high, which defeats the gate’s primary safety function. If you’re not confident in the calibration procedure, or if you adjust it and the gate still doesn’t pass the force test, call a professional. A gate that overpowers its safety systems is dangerous and non-compliant.
Start the gate closing and sweep your foot through the beam path at ankle, knee, and waist height. The gate should stop and reverse at every height. If it fails any of the three tests, the photo-eye is misaligned or non-functional, and the gate should not be operated automatically until it’s fixed. Call (817) 778-4585 for an exact repair quote, our estimates are free and written.
A documented maintenance history adds measurable value at resale. A folder with dated logs, photos, and parts receipts tells a buyer the gate was maintained, not inherited. It shifts the buyer’s perception of the gate from a potential liability to a verified asset, and it gives you evidence to support your asking price during inspection negotiations.
A gate that’s gradually slowing down is consuming more current to overcome increasing resistance. Record the cycle time and amp draw, compare against your baseline, and call a technician before the motor burns out. The repair at the drag stage is usually a hinge adjustment, wheel replacement, or post alignment; the repair after the motor fails is a full operator replacement. Early diagnosis is cheaper every time.
The Bottom Line
A gate maintenance checklist is only as good as the records it produces. The point of checking amp draw, testing safety sensors, and photographing the post base is not to feel productive. It’s to build a written, dated, measurable baseline that catches small problems before they become expensive ones, and that makes every future service call faster and cheaper. Carrollton’s climate and soil mean your gate fights conditions that gates in other markets never face. A log that accounts for soil movement, UV exposure, and moisture intrusion is the difference between a gate that lasts twenty years and a gate that eats an operator every five. Start the log today. The gate doesn’t care if you’re consistent; your future repair bill does.
For help building or reviewing your gate maintenance plan, contact Vance Gate Repair Carrollton for a free estimate. Our home page is Vance Gate Repair Carrollton home, and we serve the full Carrollton area with documented, written-price service on every call.
Written by Adrian Vance, Owner at Vance Gate Repair Carrollton, serving Carrollton since 2014.