
Last updated September 20, 2026
Free on-site gate assessment - hinges, posts, and your LiftMaster or Nice gate operator checked before anything is quoted
The assessment is free and the quote is the invoice.
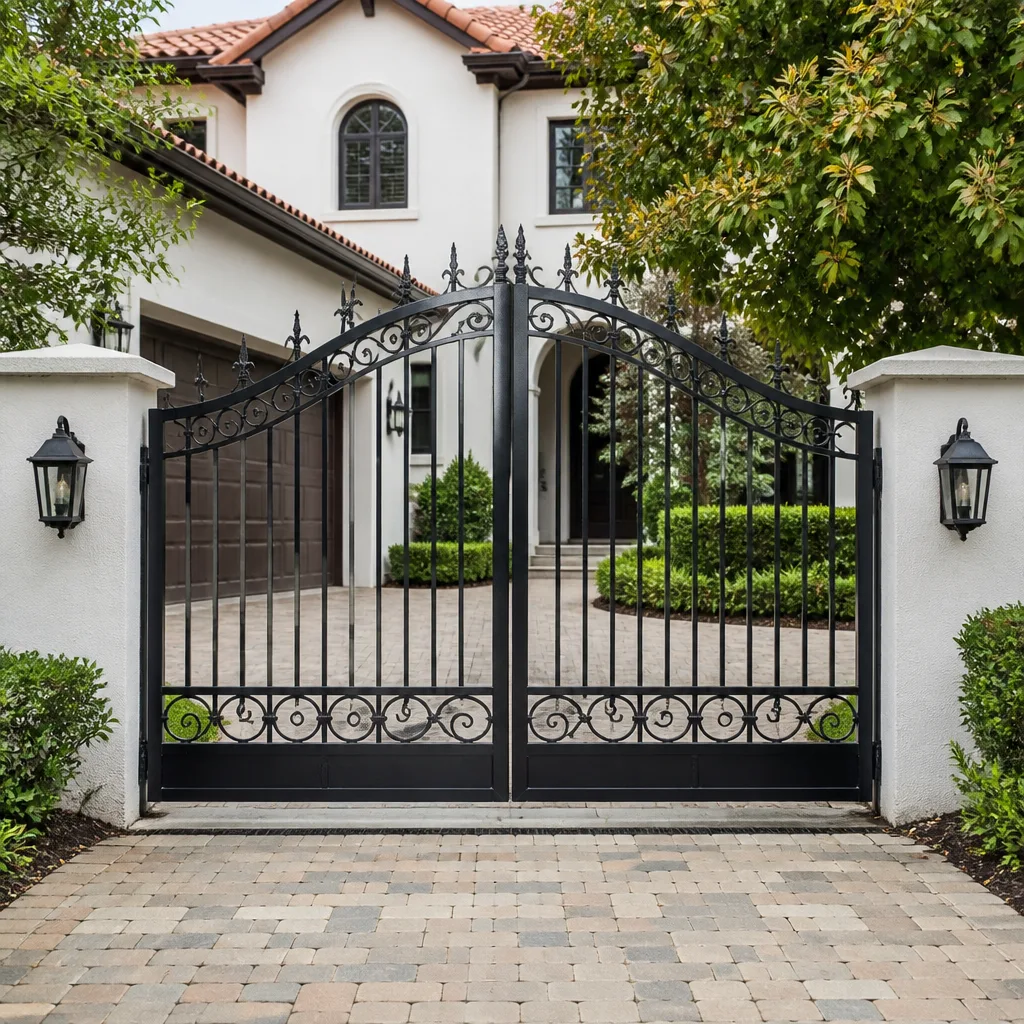
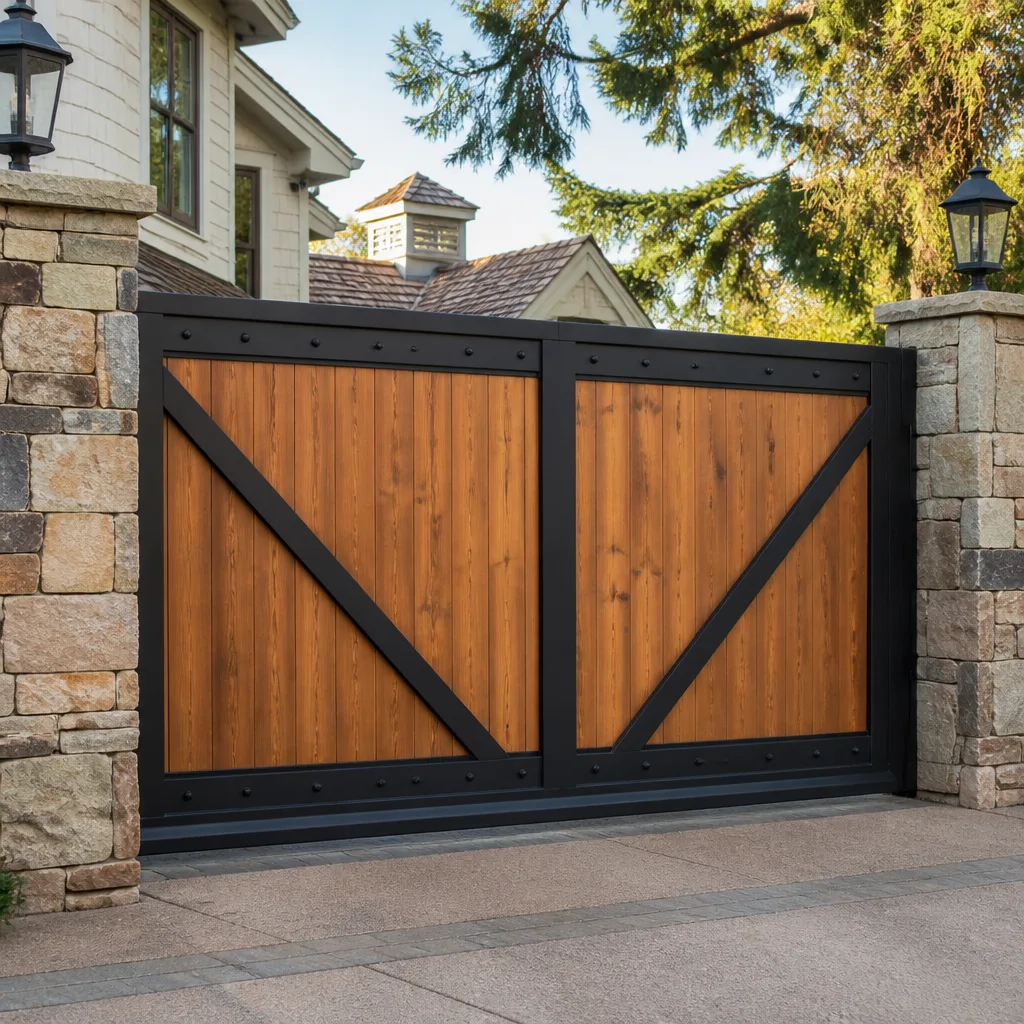
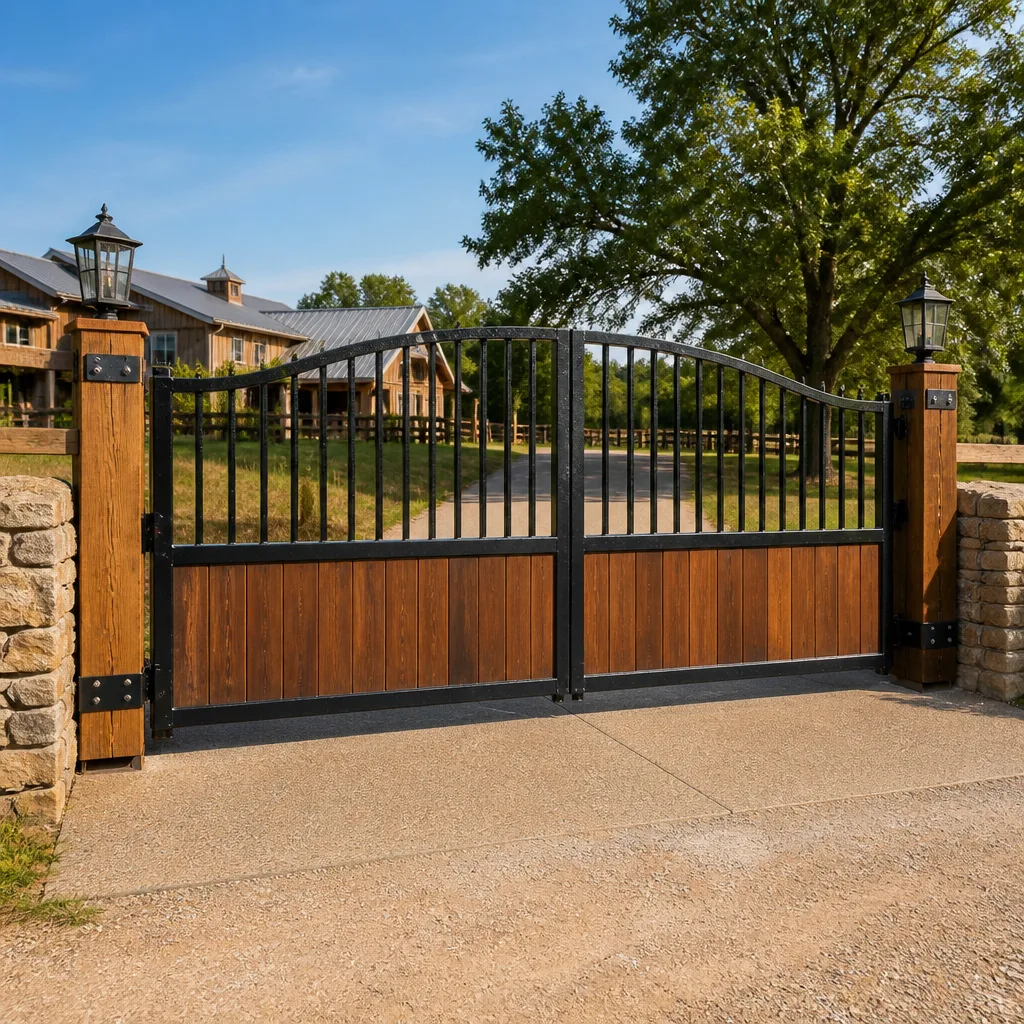
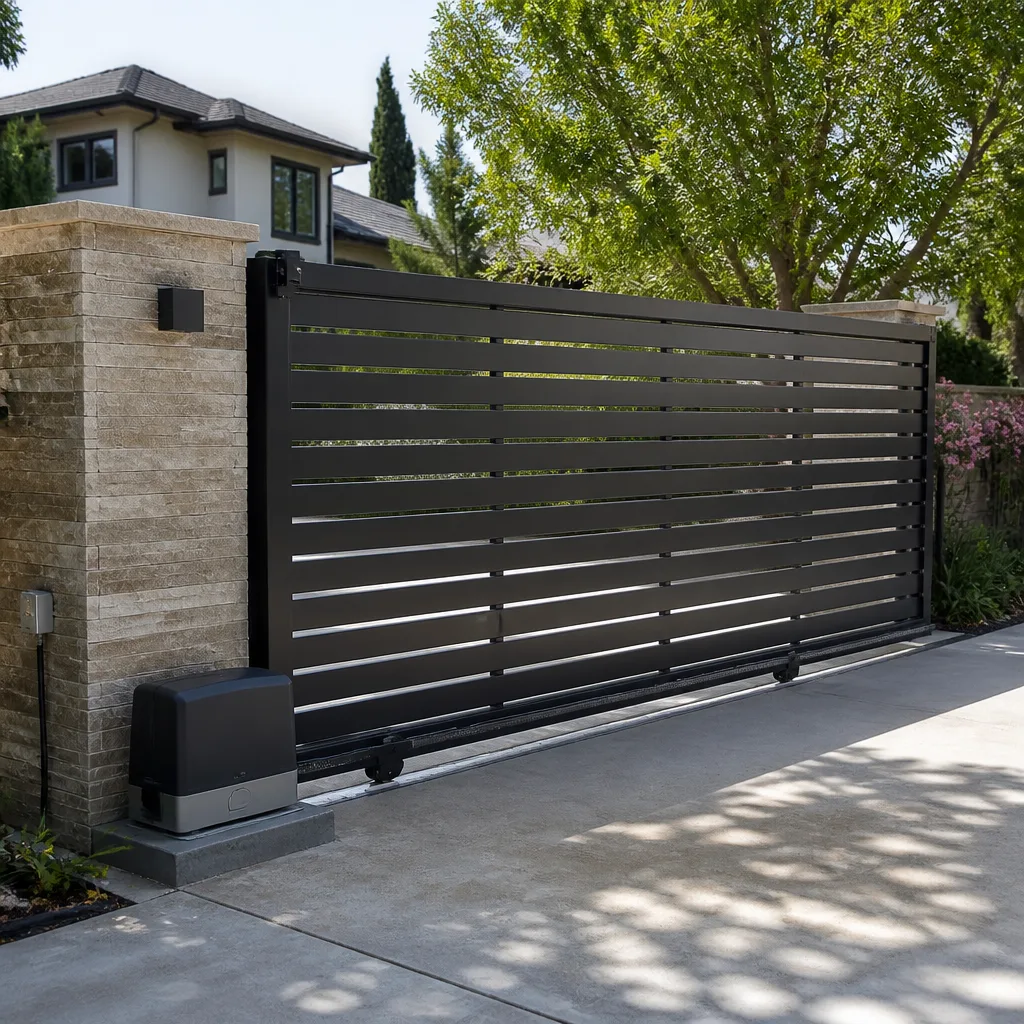
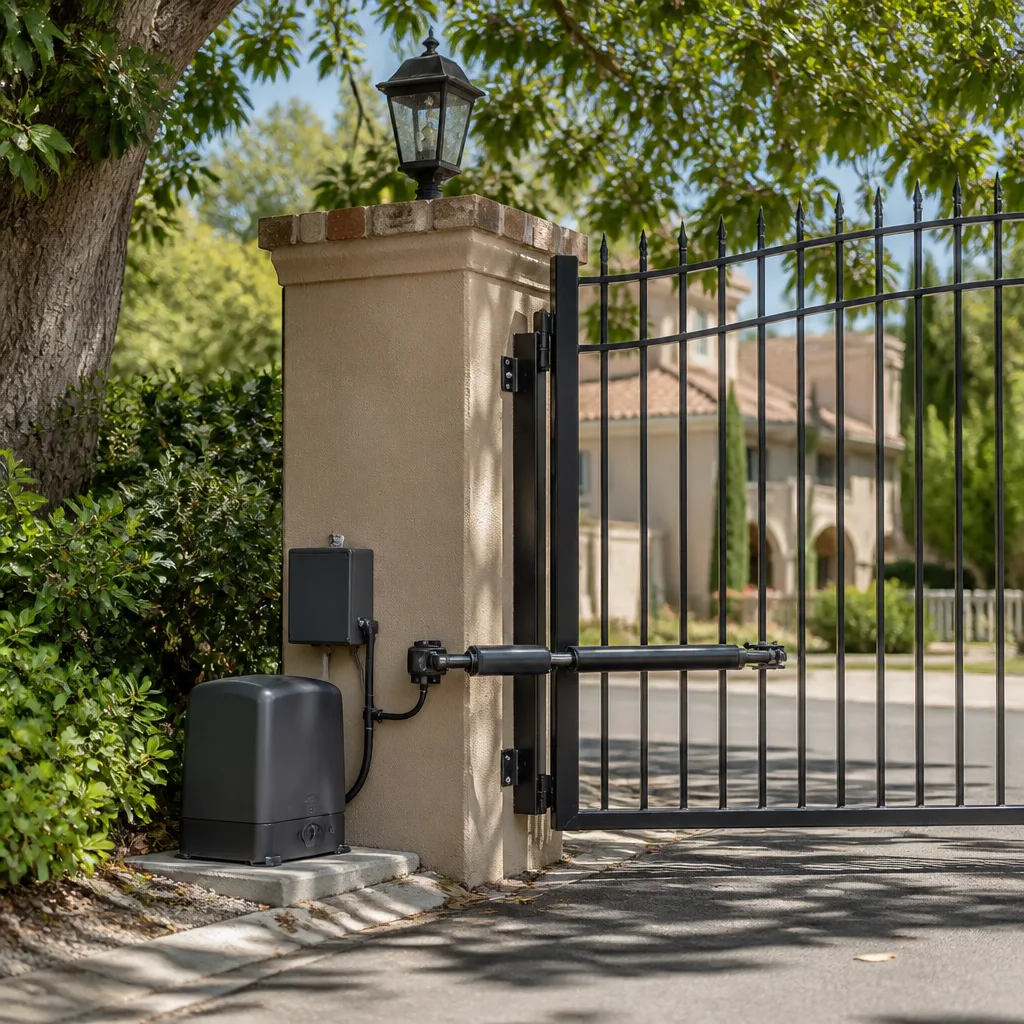
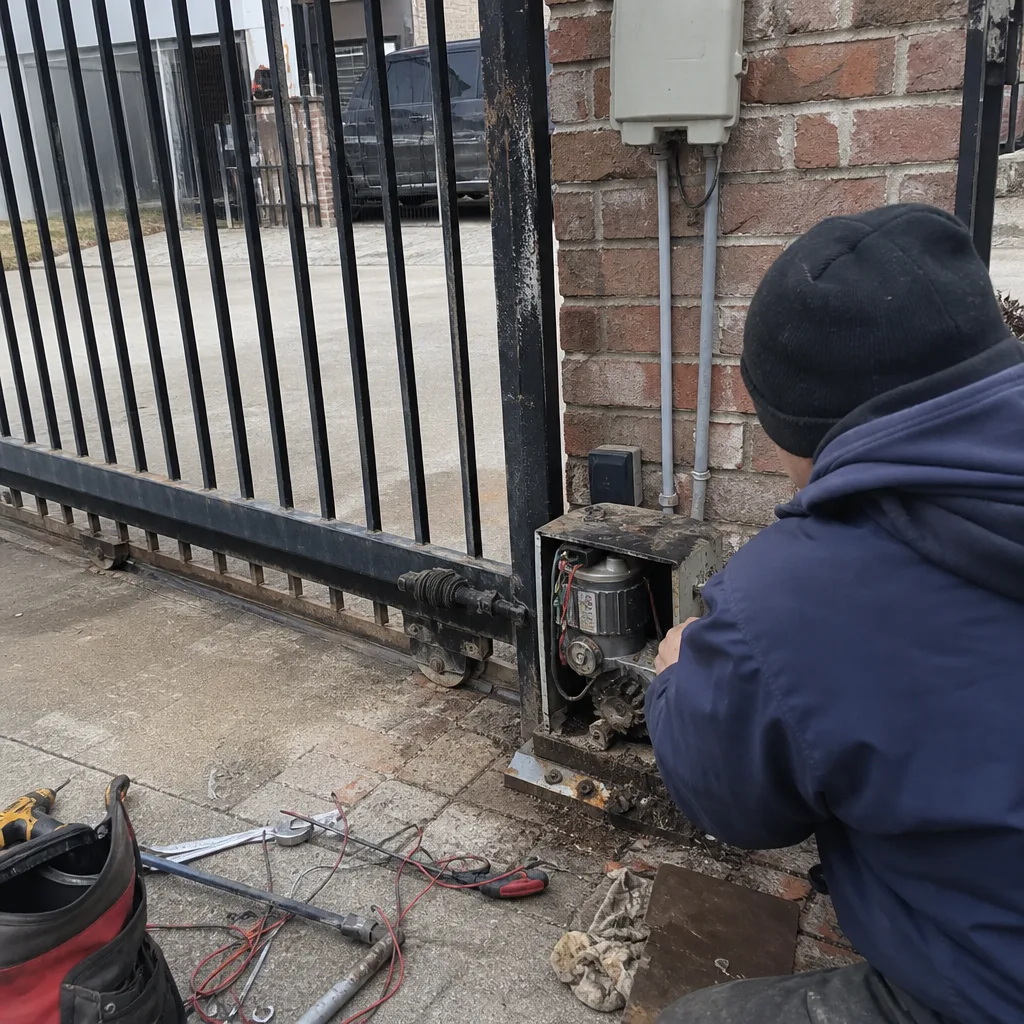 Before
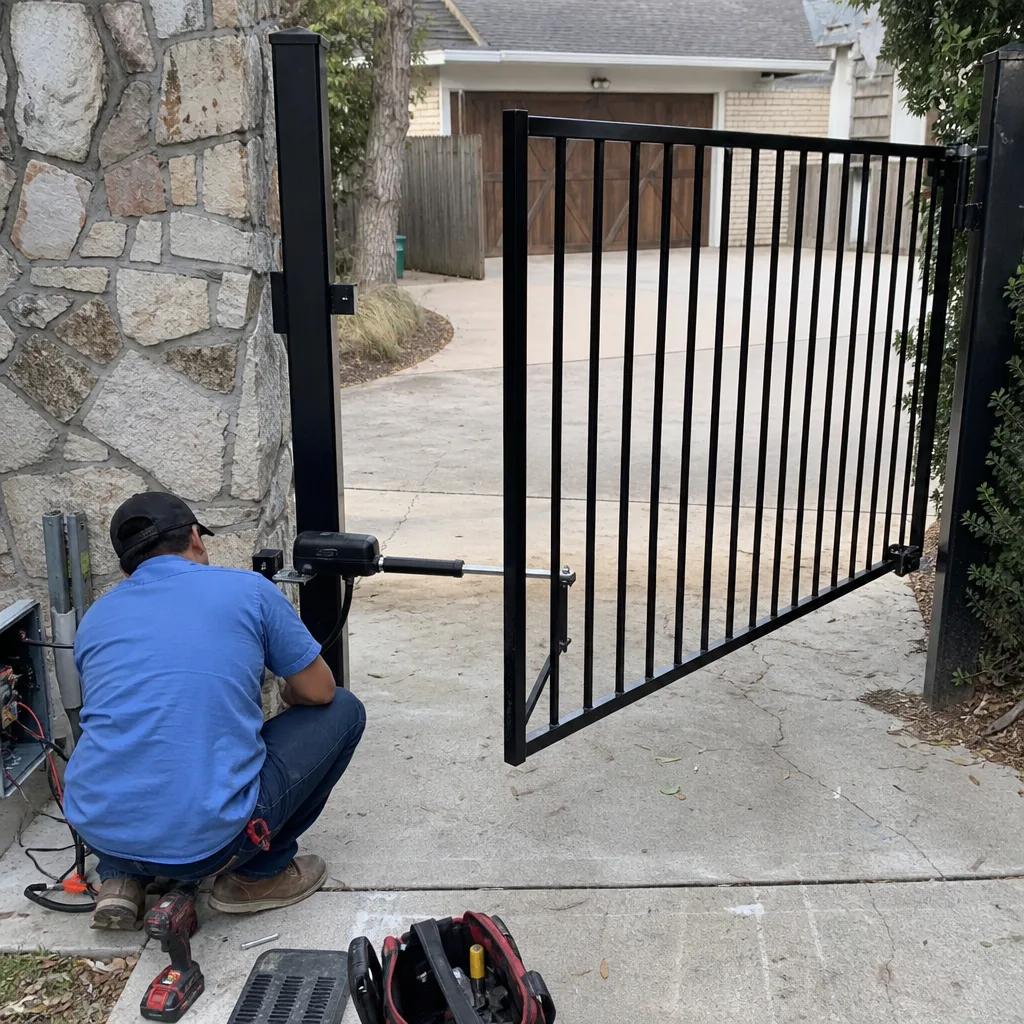 After
After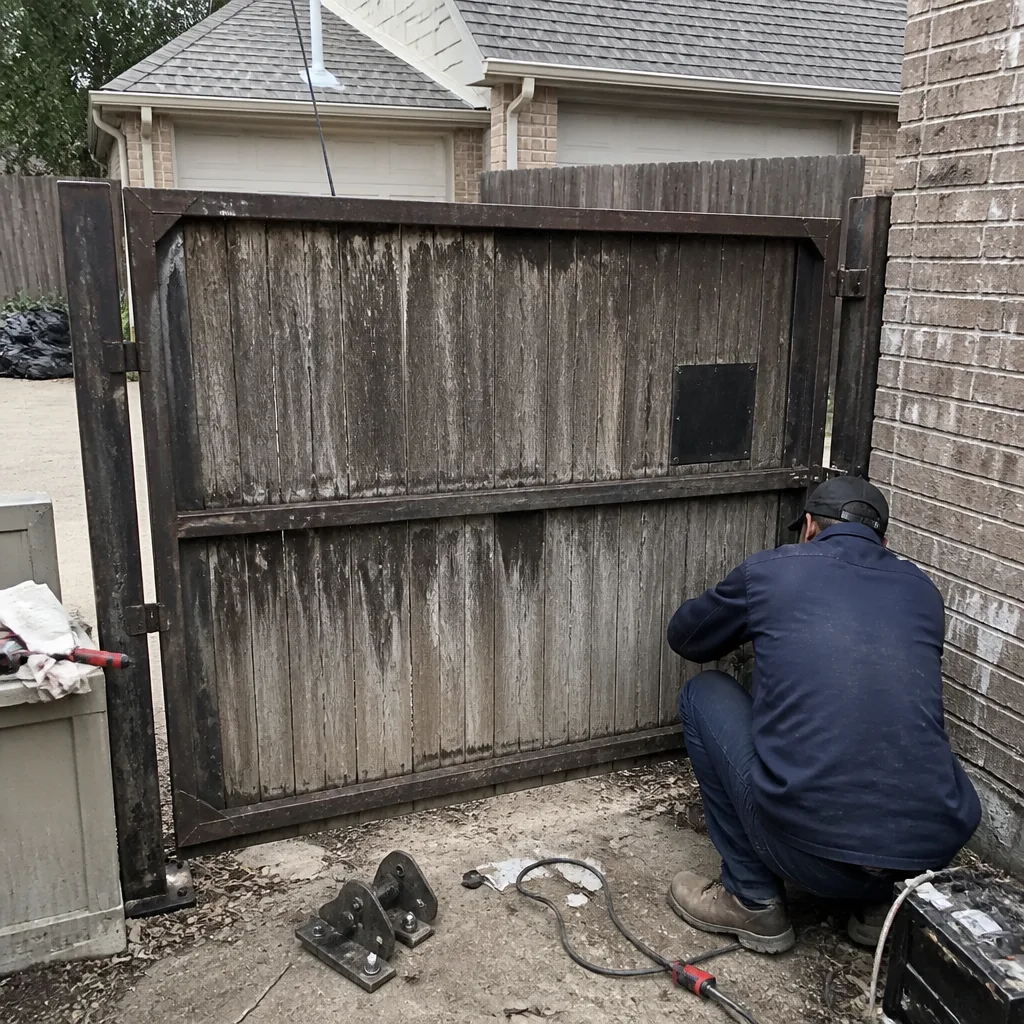 Before
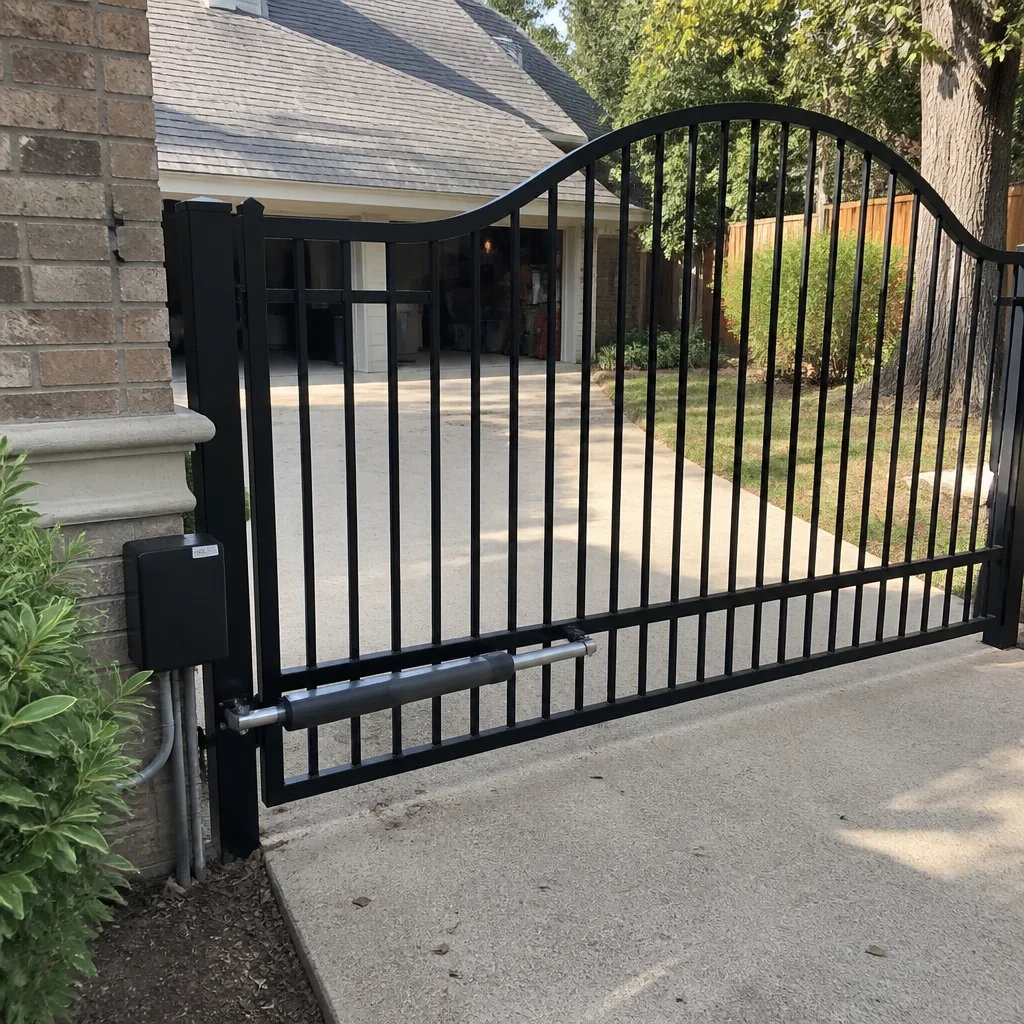 After
After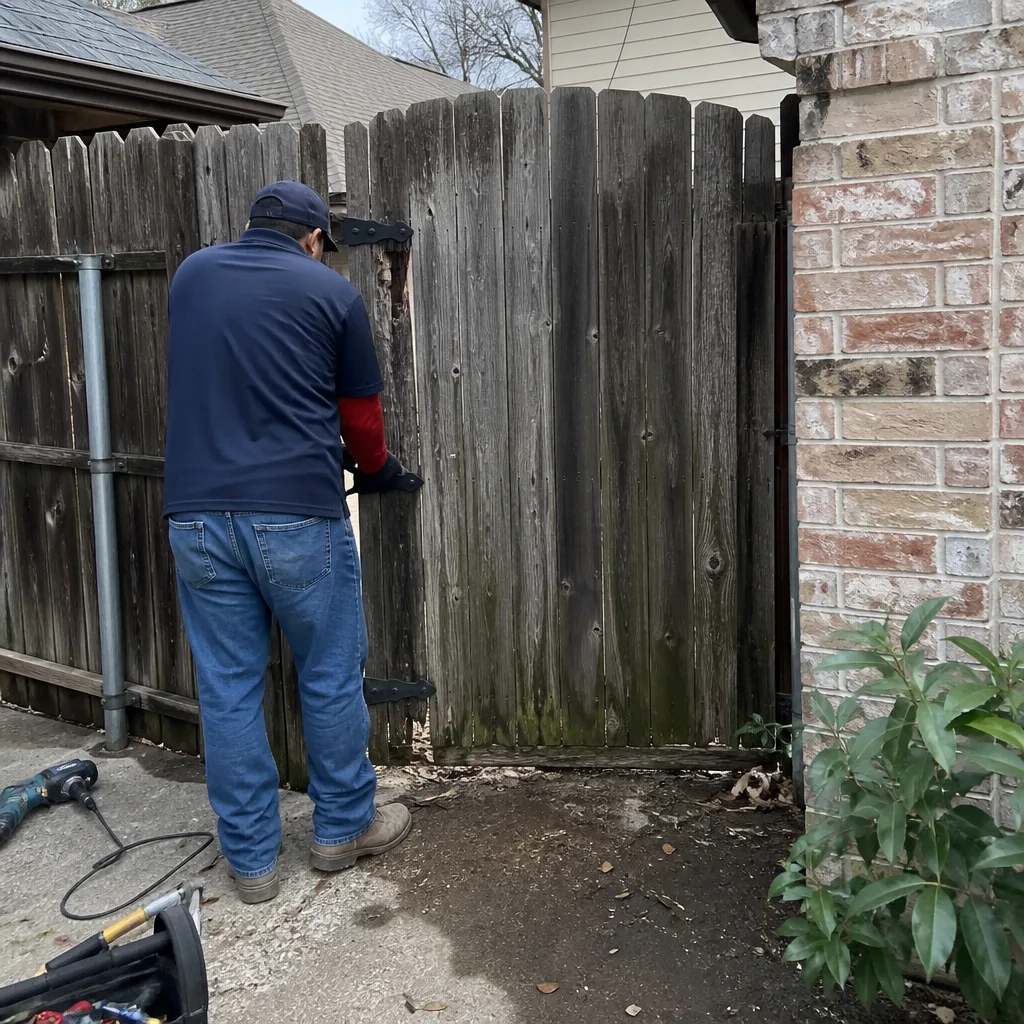 Before
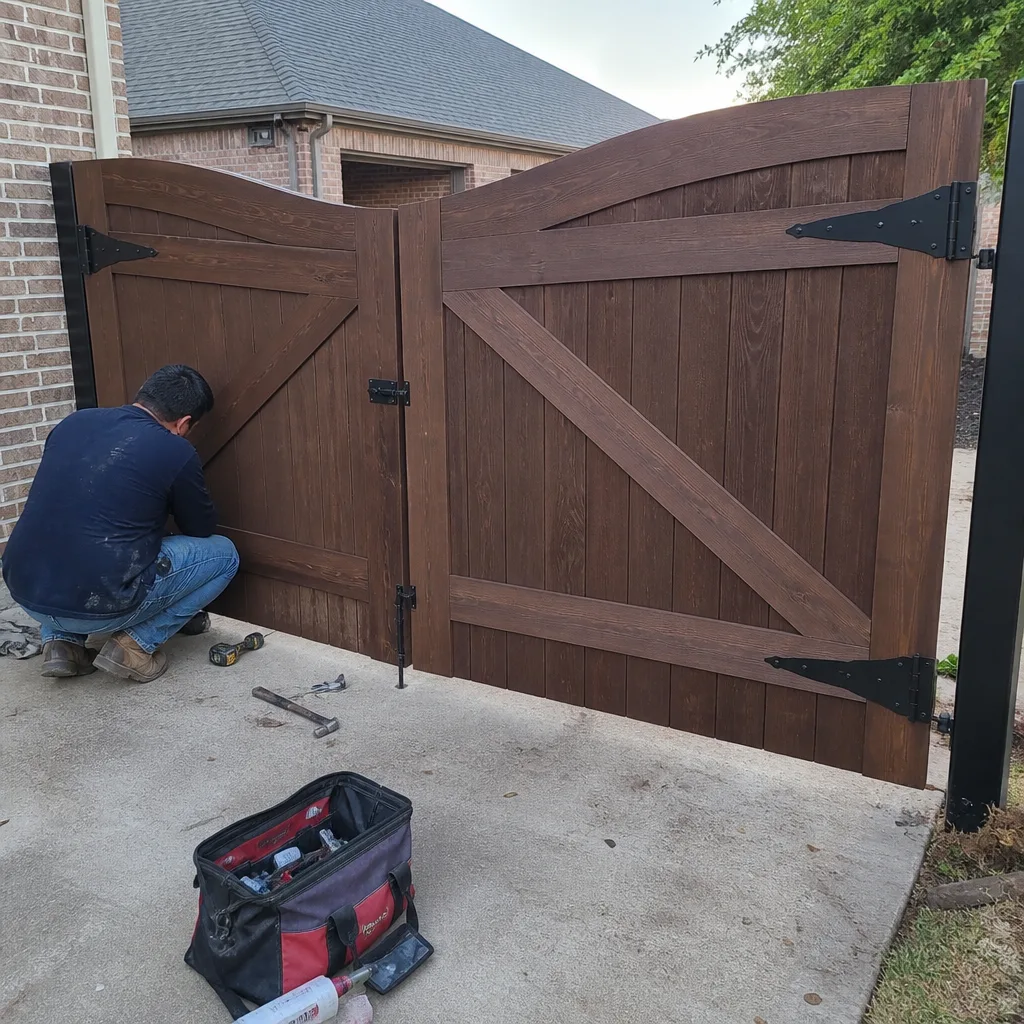 After
AfterThe Complete Guide to Gate Repair in Carrollton
In Carrollton, the three most common gate failures trace back to the same root cause: not worn parts, but clay soil expansion that shifts the post foundation one to two inches seasonally, and nobody wrote it down the first time it happened. The gate sags, the motor strains, a hinge pin shears, and the homeowner pays for the same repair twice because the underlying cause was never documented. This gate repair guide maps Carrollton’s specific soil, climate, and HOA conditions to the components that actually break, so you know what fails first, why it fails, and what a complete repair record should contain before the technician leaves your driveway.
Quick Answer
Gate repair in Carrollton typically costs between $180 and $1,500 depending on the component: hinge and alignment work runs $180-$350, operator board replacement runs $400-$900, and a full swing-gate motor replacement runs $800-$1,500 installed. Most repairs take one to three hours on site, and the single most important thing you can do is insist on a written price before work starts and a documented photo record when the technician leaves. For Gate Repair Cost Breakdown: The Carrollton Homeowner’s Reference for 2026 details, see our full pricing guide. Those two habits prevent most repeat service calls in this market.
Table of Contents
- Why Carrollton’s Clay Soil Is the Real Gate Killer
- What Breaks First: Component Failure Order in Carrollton’s Climate
- HOA Rules and Gate Repair in Carrollton Neighborhoods
- How to Read a Written Scope of Work
- The Document Trail a Complete Repair Should Leave
- What You Can Check Yourself vs. What Needs a Technician
- Carrollton Gate Repair Cost Breakdown
- Common Mistakes to Avoid
- When to Call a Professional
- Frequently Asked Questions
BeforeAfterWhy Carrollton’s Clay Soil Is the Real Gate Killer
Carrollton sits on the Eagle Ford Shale and Austin Chalk formations, which means the topsoil is expansive clay with a shrink-swell index high enough to move concrete footings measurably between wet and dry seasons. In practical terms, a gate post anchored in this soil can rise and fall one to two inches between a wet spring and a dry August. When the post moves, everything attached to it moves: the hinge plane tilts, the gate leaf drifts off the strike plate, and the operator arm now pulls at an angle it was never built for.
Here is what that soil movement does to specific components, in the order we typically see it in Carrollton:
- Hinge pins and bushings: the post shifts, the gate leaf hangs at a slight tilt, and the lower hinge takes all the weight. The pin ovalizes the bushing within a season or two.
- Underground conduit at the post base: as the soil heaves, conduit joints near the foundation pull apart. Moisture enters, and the low-voltage wiring to the keypad or loop detector degrades slowly. You won’t see it until the gate stops responding to the remote.
- Operator arm brackets: a bracket mounted on a moving post is no longer square to the gate leaf. The arm binds, the motor works harder, and either the bracket cracks or the board overheats.
- Gate leaf frame: steel and aluminum frames flex with the post movement. Weld points at the corner joints are the first to show hairline cracks, especially on older ornamental iron gates.
In our experience across Carrollton’s older neighborhoods and newer subdivisions alike, the clay problem does not discriminate by home value. We’ve reset posts on gates in the Castle Hills area and in neighborhoods off Josey Lane, and the failure pattern is identical: the concrete looked fine from the surface, but the post had moved enough to change the gate’s swing plane. The fix is not always a new gate. Often it is post stabilization, hinge bushing replacement, and a documented re-alignment. What we leave behind is a photo of the before and after, a note on how far the post had drifted, and a written record of what was adjusted.
What Breaks First: Component Failure Order in Carrollton’s Climate
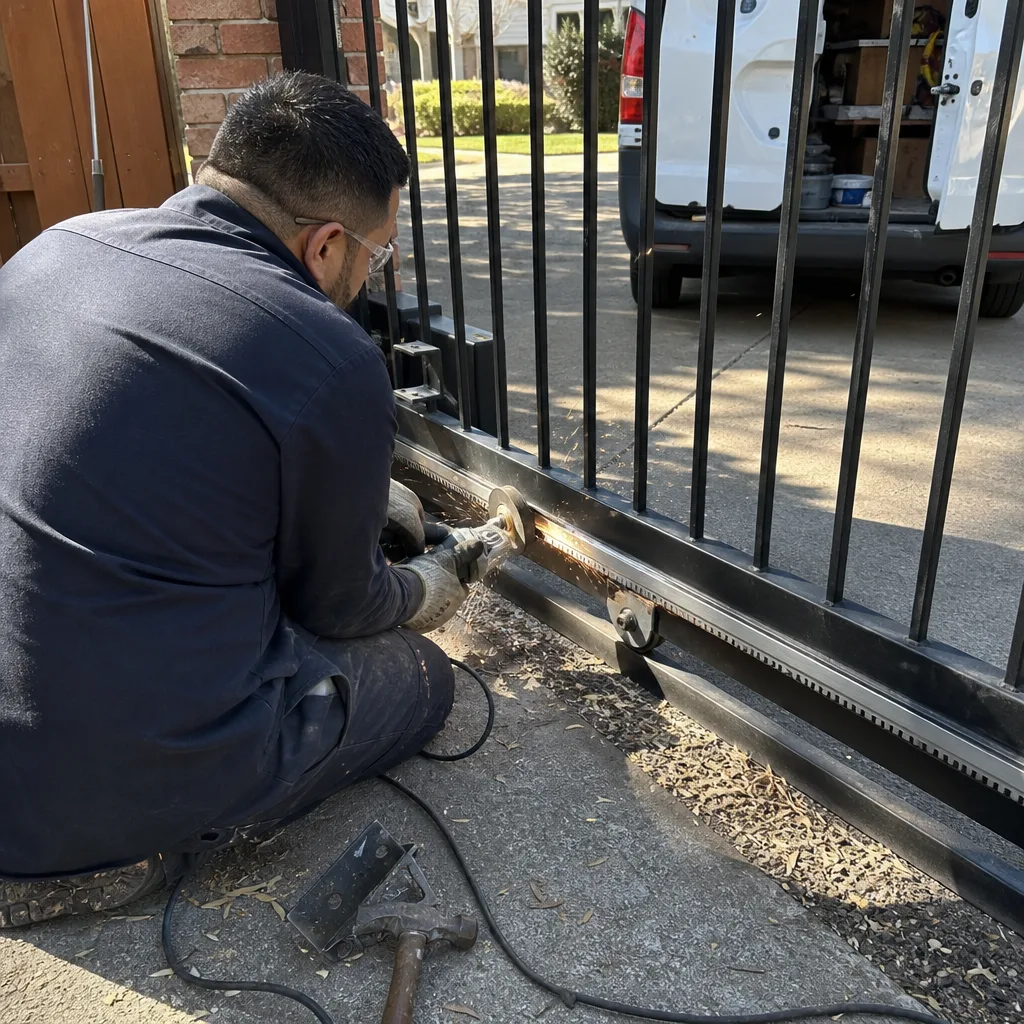
Most gate repair guides list components alphabetically or by cost. That’s not how failure actually works in Carrollton’s heat-and-clay combination. Here is the real order we see across thousands of service calls, from most frequent to least:
- Hinge pins, bushings, and post brackets: soil movement plus a heavy steel gate equals hinge wear before anything else. This is the number one repair we perform.
- Limit switches and travel settings: Carrollton summers push operators to their thermal limits. Limit switches set at the edge of travel drift out of calibration, and the gate slams or stops short.
- Operator control boards: sustained heat inside a metal operator housing degrades capacitors and board solder joints. We replace more boards in August and September than any other time of year.
- Loop detectors and photo-eyes: the external safety devices. Loop detectors corrode at the saw-cut or conduit junction; photo-eyes lose alignment as posts move. Both are seasonal and both are fixable without replacing the entire operator.
- Gate wheels and track for slide gates: clay dust works into the roller bearings, and the track accumulates debris from a dry summer. Slide gates in Carrollton need more frequent track cleaning than in wetter Texas markets.
- Battery backups and surge protection: storm season in North Texas kills unprotected boards. A battery backup that was not load-tested in three years will fail right when the power blinks during a thunderstorm.
Notice what is not on that list: the gate leaf itself. Most Carrollton gates do not need replacement. They need the moving parts corrected and the post stabilized. Brands matter less than the failure point: we service LiftMaster, FAAC, BFT, and Mighty Mule among the nine automation brands we work on, and the failure order above holds true across all of them. A Mighty Mule on a sagging post fails at the hinge just like a LiftMaster on the same post.
HOA Rules and Gate Repair in Carrollton Neighborhoods
Carrollton is heavily HOA-governed, and the covenants are not uniform. Neighborhoods like Estates of Indian Creek and Prestonwood have architectural control committees with specific requirements for gate style, material, color, and even the operator housing color. Before any gate repair or replacement that changes the visible appearance of the gate, you need to check the covenant language. Repairs that restore the existing gate to its original condition generally do not require approval, but replacements and repainting do.
Here is what we tell Carrollton homeowners to check before scheduling any work that changes the gate’s appearance:
- Material restrictions: some Carrollton HOAs require ornamental iron or specified aluminum grades. If you are replacing a gate leaf, the new material must match the approved spec.
- Operator housing color: even operator enclosures are subject to architectural review in some communities. A black operator housing on a gate that was originally specified with a bronze housing can trigger a covenant notice.
- Wall and column height: if the repair involves rebuilding a brick column or pier, the height restriction in the covenants applies. This is more common than you’d think when post stabilization requires re-setting a column-mounted operator.
- Setback and easement rules: some Carrollton lots have utility easements near the driveway entrance. If a slide gate track would extend into an easement, the HOA and often the utility provider need to be notified.
The practical point: the gate itself may fail mechanically, but the repair process is a compliance process too. A technician who has worked in Carrollton’s HOA communities knows to ask about covenant review before ordering materials. That conversation should happen before money is spent, not after the gate is installed and the architectural committee sends a letter.
How to Read a Written Scope of Work
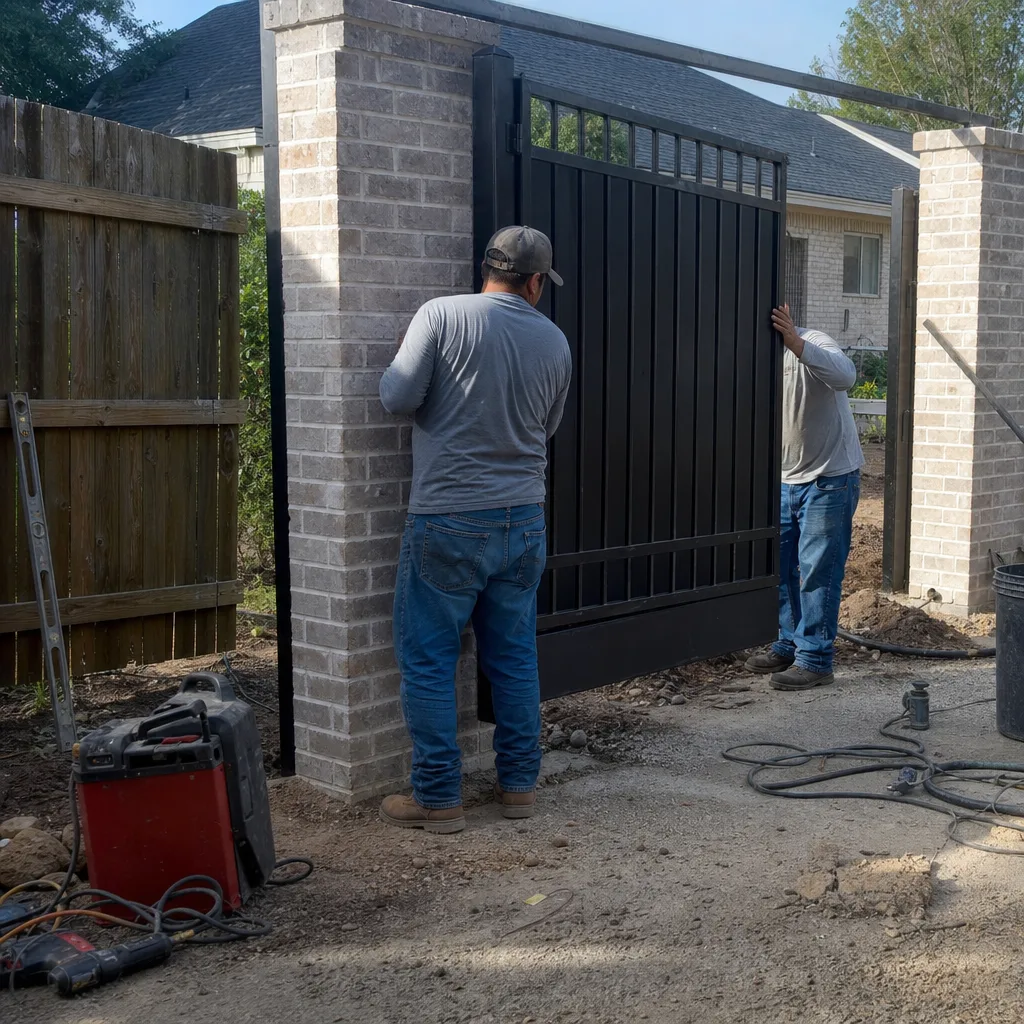
The difference between a verbal estimate and a written scope of work is the difference between guessing and knowing what you paid for. We hand every Carrollton customer a written scope before any work starts because that is the only way a homeowner can hold a technician accountable for exactly what was agreed. Here is how to read one and what to look for:
Step 1: Check that every line item has a dollar amount. A written scope that says “repair operator as needed” with no dollar figure is not a scope, it is a permission slip. Every component repair should have a price next to it: hinge pin replacement, limit switch adjustment, board replacement, bracket welding. If the technician can’t name the price, the technician doesn’t know the problem yet.
Step 2: Look for the part number or brand name. A legitimate repair scope lists what will be installed. “Replacement control board, LiftMaster LA400” is a scope. “New board” is a mystery. You want the part number on the page before you pay.
Step 3: Look for what the scope omits. Verbal estimates tend to leave out the things that will be discovered mid-job: a cracked bracket, a corroded conduit joint, a hinge bushing that needs replacing while the gate is open. A written scope should include a line for “additional findings, documented and approved before continuation.” That line protects you from surprise invoices.
Step 4: Verify the warranty language in writing. The 365-Day Done Right Promise means that if the repair is not right within one year, we make it right at no additional charge. If another company’s paper does not state the warranty period, ask. “Lifetime warranty” without a written definition of what is covered and for how long is not a warranty.
The Document Trail a Complete Repair Should Leave
Here is what separates a repair that lasts from a repair that returns. In commercial access-control work, every service visit generates a record: wiring diagrams, meter readings, photographs, a log of parameter changes. Residential gate repair in Carrollton rarely gets that treatment. We believe it should, which is why our version of The Haven Standard includes a documented photo record on every visit.
Here is what a complete document trail contains, and why each piece matters:
- Before-photos of the failed component: the sag, the cracked bracket, the misaligned photo-eye. You get proof of what was actually wrong, not a verbal description.
- Limit-switch readings or travel measurements: “the limit switch was set 12 degrees past travel; we reset it and photographed the new position.” That sentence is worth more than a generic “we adjusted the settings.” The next technician who opens the operator knows exactly where the limit was, where it is now, and what changed.
- Part numbers installed: when a board or sensor is replaced, the exact part number goes on the record. No future technician has to disassemble the operator to identify the board revision.
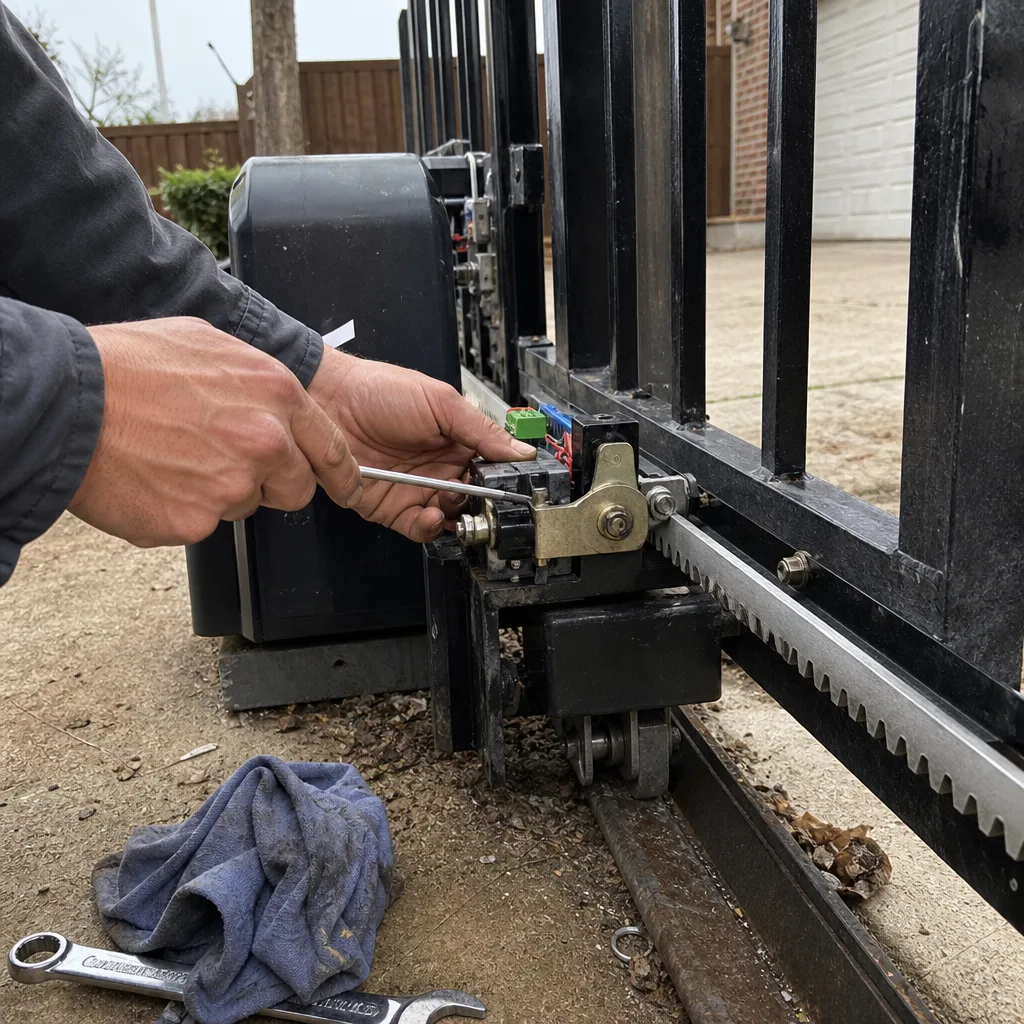
- After-photos with the adjustment or new part visible: the gate closed, the rack level, the bracket square. You get a visual record of the correction.
- A dated service note summarizing the findings and the fix: this is the document trail that prevents you from paying twice for the same diagnosis. The next time the gate acts up, the technician reads the note instead of starting from scratch.
This record protects you in two ways. First, it gives you evidence of what was done if the repair fails and a warranty claim is needed. Second, it protects you from being sold a replacement when a simple adjustment would do. A technician who sees a documented record of a recent limit-switch adjustment will not recommend a new operator for the same symptom. A technician who sees nothing will.
What You Can Check Yourself vs. What Needs a Technician
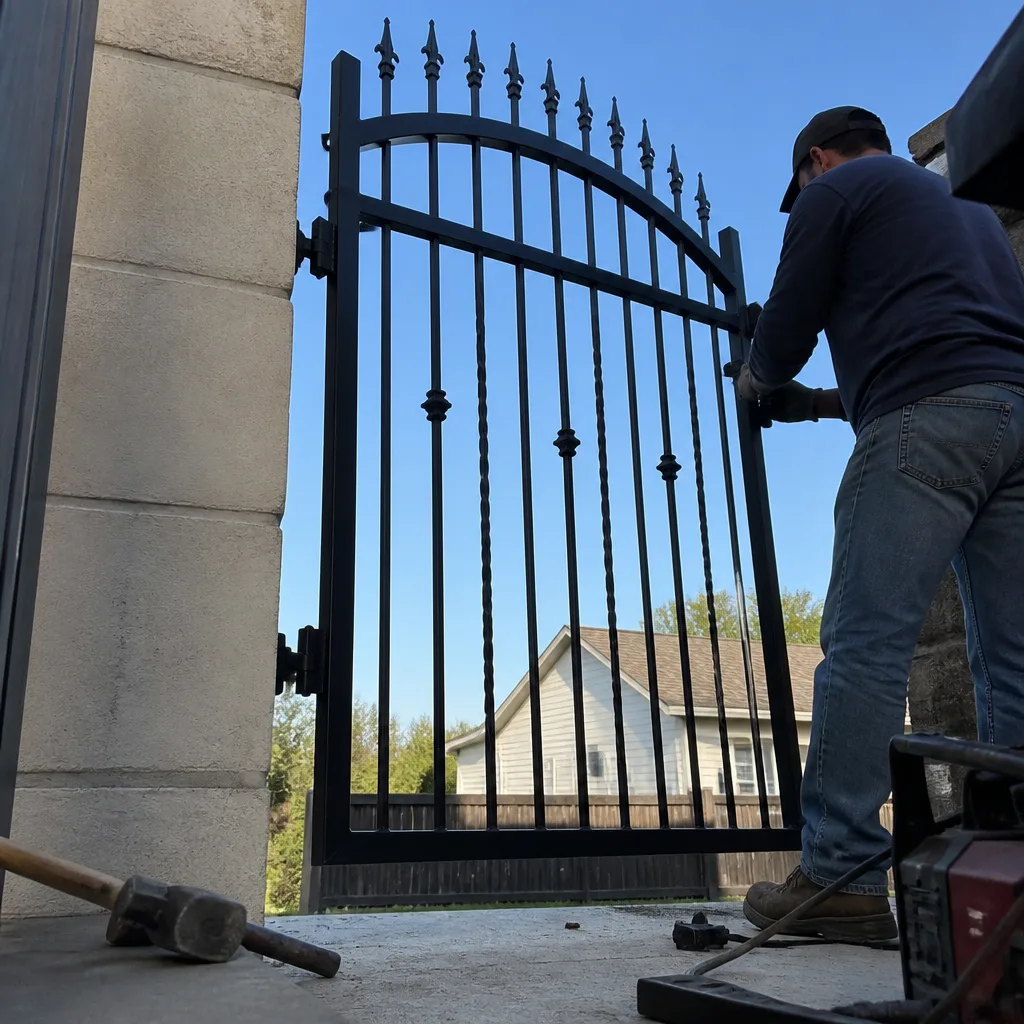
Some gate issues are safe to inspect yourself. High-tension springs, operator internals, and conduit wiring are not. Know the line.
Safe to check yourself:
- Debris in the track: for slide gates, clear rocks, clay clods, and leaves from the track. This is the cheapest maintenance you can do and it prevents most roller and wheel failures.
- Photo-eye alignment: if the gate reverses or refuses to close, check whether the photo-eye (the infrared beam that stops the gate if something crosses the path) is visibly aimed at its reflector. A two-inch misalignment will stop the gate every time.
- Keypad and remote batteries: low batteries in remotes and keypads are the most common call we get that is not a gate problem at all. Replace batteries before calling for service.
- Visible hinge wear: if you can see play in the hinge pin when the gate is lifted slightly, the bushing is worn. That is a straightforward repair, priced on the page before we start.
Leave to a professional:
- Gate springs and counterweights: a steel gate under spring tension can release stored energy suddenly. Do not attempt to adjust or remove a spring-loaded gate without proper training and locking bars.
- Operator internals and control boards: capacitor discharge, live low-voltage wiring, and board-level diagnosis are not DIY territory. Call someone who can name the board model before opening the housing.
- Post re-setting and concrete work: stabilizing a post that has moved in Carrollton’s clay requires mechanical lifting or re-pouring. This is not a shim job. It is a foundation correction.
- Underground conduit repair: if the gate stopped working after heavy rain and the breaker is fine, the problem is likely water intrusion in a conduit joint near the post. This requires locating the break, splicing waterproof connections, and documenting the repair.
Carrollton Gate Repair Cost Breakdown
Here are current market ranges for common gate repairs in Carrollton, with the factors that move the price in either direction. These are the numbers we quote on written scopes; they vary by brand, gate weight, and site access, but they will not surprise you after the fact.
- Hinge pin and bushing replacement: $180-$350 per hinge set, depending on gate weight and whether the post needs shimming or the leaf needs lifting back into plane.
- Limit switch adjustment and calibration: $150-$250, including travel measurement and photo documentation of the new settings.
- Operator control board replacement: $400-$900 installed, depending on brand (Mighty Mule boards are typically less; LiftMaster and BFT boards run higher) and whether the transformer also needs replacement.
- Photo-eye replacement or realignment: $120-$280, including bracket adjustment and beam alignment verification.
- Loop detector replacement (in-ground): $600-$1,200, because the saw-cut and conduit repair is the labor-heavy part, not the detector itself.
- Full swing-gate motor replacement: $800-$1,500 installed, depending on brand and whether the arm bracket and post mount need reinforcement.
- Post stabilization or re-setting: $400-$1,800, depending on whether the post can be mechanically re-anchored or needs a new concrete pour.
Every price quoted above is written down before any work starts, and every price is confirmed with you again if we find something additional mid-repair. No surprise invoice at the end. That is Haven Standard Clause 1, and it applies to every job we do, from a single hinge pin to a full operator replacement.
Common Mistakes to Avoid
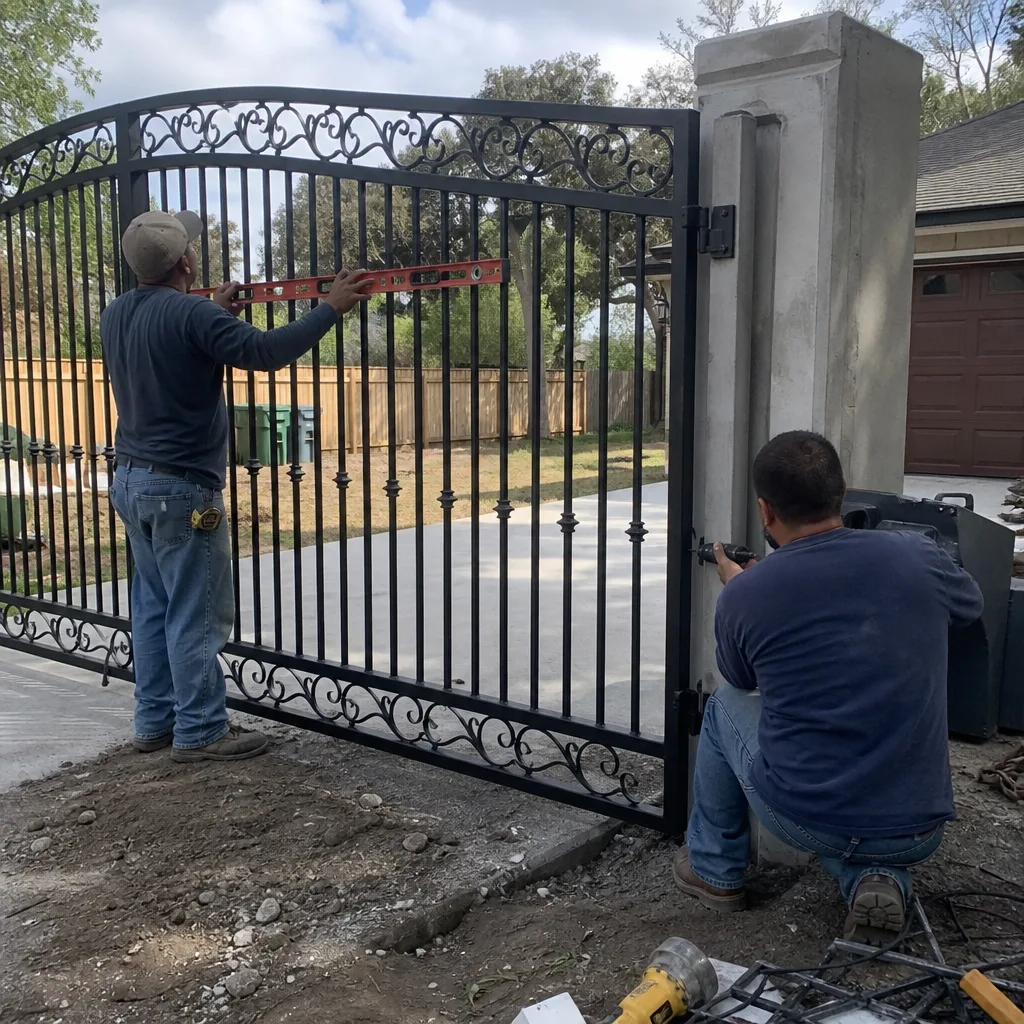
- Replacing the gate before fixing the post. If the post has moved in Carrollton’s clay, a new gate leaf on the old post will sag within a year. Fix the foundation first, then evaluate the leaf.
- Accepting a verbal quote with no written scope. A quote spoken aloud is a quote you cannot hold anyone to. If the technician won’t write it down, the technician won’t stand behind it either.
- Ignoring a gate that reverses halfway through closing. That is a safety device failing, not a minor annoyance. The photo-eye or safety edge is telling you the system cannot confirm the path is clear. Fix it now before liability becomes the issue.
- Skipping the HOA check before ordering a replacement gate. In Carrollton’s covenant-governed neighborhoods, ordering a non-compliant gate is a multi-thousand-dollar mistake. Check the architectural requirements before the materials arrive.
- Replacing the entire operator when the limit switch is out of calibration. This is the most expensive mistake we see, and it happens because homeowners call companies that steer toward replacement rather than repair. A limit switch adjustment is a fraction of the cost of a new operator.
- Not asking for a photo record of the repair. If the next technician cannot see what was done, you will pay for the diagnosis again. Insist on photos and a written service note.
When to Call a Professional
Call a gate professional when the gate binds, scrapes, reverses unexpectedly, or refuses to respond to the remote or keypad. Call immediately if you hear grinding from the operator housing, see visible cracks at the hinge brackets, or notice the gate leaning noticeably from vertical. If the gate has high-tension springs or a counterweight system, do not attempt to adjust anything under tension. Vance Gate Repair Carrollton offers free estimates in Carrollton. Call (817) 778-4585 and speak to a live person, day or night. We will give you a written price before any work starts, and you will leave with a documented record of what we found and what we fixed.
Frequently Asked Questions
Gate repair in Carrollton typically costs between $180 and $1,500 depending on the component. Hinge pin and bushing replacement runs $180-$350, control board replacement $400-$900, and a full swing-gate motor replacement $800-$1,500 installed. Every price is written and confirmed before work starts. Call (817) 778-4585 for an exact quote on your gate.
Carrollton’s expansive clay soil shrinks during dry, hot months, causing gate posts to settle and tilt. This movement puts extra weight on the lower hinge and changes the gate’s swing plane, creating the sag you notice. The fix is post stabilization and hinge bushing replacement, not necessarily a new gate.
For most hinge, alignment, and limit-switch repairs, yes. We run service calls across Carrollton daily and can typically dispatch the same day for emergency failures such as a gate stuck open or an operator that won’t respond. Call (817) 778-4585 and tell us what the gate is doing.
Repairs that restore the existing gate to its original condition generally do not require HOA approval. Replacing the gate leaf, changing the operator housing color, or rebuilding a column usually does. Check your specific community covenants in neighborhoods such as Estates of Indian Creek or Prestonwood before ordering materials.
A complete repair record should include the part number or brand name of every component installed, before-and-after photos, limit-switch readings if adjusted, and a dated service note explaining what was found and what was fixed. This documentation prevents you from paying twice for the same diagnosis.
Yes. We service nine major automation brands including LiftMaster, FAAC, BFT, Mighty Mule, Linear, Viking, Ghost Controls, DoorKing, and Elite. We repair whatever motor is already on the property rather than steering you toward a replacement, and our Gate Motor & Opener service in Carrollton covers diagnostics, board replacement, and full motor swaps.
The Bottom Line
Gate repair in Carrollton is a soil-and-documentation problem more than a parts problem. The clay moves your posts, the heat stresses your operator, and the absence of a written record means you pay twice for the same diagnosis. Fix the soil problem first, insist on a written price before work starts, and leave every service visit with a photo record and a service note you can show any future technician. That is the difference between a gate that stays fixed and a gate that returns every August. If you are in Carrollton and the gate is binding, sagging, or dead at the keypad, call Vance Gate Repair at (817) 778-4585. We will put the price in writing and leave you with evidence of the work. Learn more about our Vance Gate Repair Carrollton home services, our Gate Repair in Carrollton specialty, or full Gate Installation in Carrollton options.
Written by Adrian Vance, Owner at Vance Gate Repair Carrollton, serving Carrollton since 2014. Explore more guides & resources on our blog.